CGI Commercial Production Pipeline — Sameer Baloch
Professional Production Guide

CGI COMMERCIAL
PRODUCTION PIPELINE

From client brief to final delivery. Every stage of a real CGI commercial production, documented from 15 years of agency and brand work. Two complete case studies included.

9
Chapters
2
Case Studies
36
Production Images
15+
Years Experience
Chapter 01

READING
THE CLIENT BRIEF

The brief is the foundation. Every mistake in production traces back to a misread brief.

The first document a client sends is the most important document in the entire project. Most artists read it once and start working. Professionals read it three times: once for what the client is asking for, once for what they are not saying, and once to identify every question that needs answering before production begins.

A CGI commercial brief typically contains the product or subject, the intended use, the deadline, and a rough visual direction. What it almost never contains is the specific technical requirements, the revision allowance, the approval chain, and the final delivery specifications. Your job before quoting is to find out everything that is missing.

What a Complete Brief Must Contain
Product or subject: Exact model, version, colour, and any required branding elements. For products, is a 3D model provided or do you model from scratch?
Intended use: TV broadcast, online only, social media, print? Each platform has different resolution and format requirements that affect production decisions from day one.
Visual direction: Mood references, colour palette, lighting style. If the client has no references, this is a red flag. Undefined visual direction means unlimited revisions.
Duration and format: Length of the spot, aspect ratios required, frame rate. A 15-second 9:16 vertical for Instagram is a completely different deliverable from a 30-second 16:9 broadcast spot.
Approval chain: Who approves what at which stage? In agency work, the agency approves styleframes, the brand approves finals. Knowing this prevents production work being rejected by someone who was not in the loop.
Hard deadline: The actual delivery date, not the desired one. Is this date fixed by a media buy or a launch date, or is it flexible? Fixed dates require different planning than flexible ones.
Questions to Ask Before Quoting
01
Is a 3D model provided?
For product visualisation, whether the client provides a CAD file or 3D model versus you modeling from reference photographs is a significant time difference. A CAD file saves 1 to 3 days. Modeling from scratch adds that time to the quote.
02
How many revision rounds?
Define this before any work begins. Two rounds of revisions is standard. Unlimited is not a contract term, it is an open commitment to free work. State your revision policy in writing before the project starts.
03
What are the exact deliverables?
Final format, resolution, colour space, frame rate, codec. A client who says "just a video file" will surprise you at delivery. Get the exact technical specifications from whoever will receive and use the final file.
04
Who is the final approver?
In agency work, the agency project manager is your contact but the brand marketing team is often the final approver. If you do not know who has final say, a finished job can be rejected by someone you have never spoken to.
From My Experience

Every project problem I have ever had traces back to something that was unclear in the brief and was not clarified before work began. An hour of questions before quoting saves days of revisions after delivery.

Chapter 02

QUOTING AND
BUDGET

Quote after the brief. Never before it.

CGI commercial pricing is project-based, not hourly. Clients in advertising do not buy your time. They buy a deliverable with a specific quality level and deadline. Your quote reflects the value of that deliverable to their campaign, not your hourly rate multiplied by estimated time.

The most common quoting mistake: underestimating revision time. In commercial work, client revisions easily add 30 to 50 percent to total project time. Quote for this from the start. A project with two revision rounds included in the price is not more expensive than a project quoted without revisions that then requires three.

CGI Commercial Rate Reference
Project TypeScopeRate Range
Product viz, stillSingle product, 1 to 3 hero angles, no animation$800 to $2,500
Product viz, animatedSingle product, 10 to 30 sec spot, agency client$2,500 to $8,000
Full CGI commercial30 sec spot, multiple environments, brand client$5,000 to $20,000
3D explainer60 to 90 sec, industrial or technical subject$3,000 to $10,000
Usage rights premiumGlobal broadcast, 12+ months+50% to +150% on base rate
Sample Quote Structure
Samsung Galaxy S21 Ultra / Product Visualisation / Box of Art Agency
3D product modeling and texturing$600
Scene building and lighting setup$400
Styleframe development, 3 options$300
Final rendering, 4 hero angles$400
Post-production and composite$250
2 revision rounds includedincluded
Project Total$1,950

50% deposit before work begins. 50% on final delivery. Non-negotiable. Every project, every client, regardless of size.

What to Include in Every Quote Document
Project scope
One paragraph describing exactly what will be delivered. Vague scope means unlimited free work.
Deliverables list
Specific files, formats, resolutions, and quantities. If it is not listed, it is not included.
Revision rounds
Number included and definition of what a revision is. A revision is a change to approved work, not a new direction.
Timeline
Delivery date and any milestone dates for styleframe approval and first render review.
Payment terms
50% deposit on project start, 50% on delivery. Payment due dates and late payment terms.
Usage rights
Where, how long, and in which markets the client can use the final work. Higher reach means higher rate.
Chapter 03

STYLEFRAMES AND
CONCEPT

Never start modeling without approved styleframes.

A styleframe is a 2D visual that represents the intended look, mood, lighting, and composition of the final render without any 3D work involved. It is made in Photoshop using reference images, stock photography, and rough compositing. The purpose is simple: get client approval on the visual direction before a single render is produced.

Skipping styleframes is the single most expensive mistake in commercial CGI production. Without approval on the visual direction, every render you produce is a guess. Clients who have not approved a direction will reject renders based on undefined personal preference. Styleframes make the direction explicit and create a reference point for all feedback.

Styleframe Process
01
Collect and organise reference
Gather 15 to 20 images that answer specific visual questions: lighting direction, colour temperature, surface quality, background atmosphere, and hero product presentation angle. Organise by category, not by look.
02
Build 2 to 3 distinct directions
Produce two to three Photoshop composites that show meaningfully different visual approaches. Not colour variations of the same idea: genuinely different lighting concepts, backgrounds, and moods. Give the client a real choice.
03
Present with annotations
Label each direction with a name and a one-line description of what it communicates. "Direction A: Clinical precision. White studio, hard directional light, emphasises materials." Guide the client toward a decision rather than leaving them to interpret the visual alone.
04
Get written approval
Email confirmation. Not verbal. The approval email becomes the reference document for all future feedback. If a client later says the lighting is wrong, you refer to the approved styleframe.
The Approval Rule

No production work begins without a written styleframe approval. This is not a formality. It is the document that protects you from subjective feedback after the render is complete. Every hour of render time after approval is billable. Every hour before approval is a risk.

Chapter 04

PRODUCTION
PIPELINE

Model, texture, light, render. In that order. Every time.

Commercial CGI production follows a specific sequence that cannot be reordered without causing problems. The sequence exists because each stage depends on decisions made in the stage before it. Lighting depends on camera position. Camera position depends on composition. Composition depends on the model. Skip the sequence and you will redo work.

Product Visualisation Pipeline
01
Model or import the product
For product viz, model from the manufacturer's official photography at multiple angles. Match every edge, every surface break, every radius exactly. Product accuracy is non-negotiable in commercial work. The client knows the product better than you do.
02
UV unwrap and texture
4K textures for hero surfaces. Match material properties to the physical product: glass is near-zero roughness, brushed metal 0.3 to 0.45, matte plastic 0.6 to 0.75. Photograph the real product if available. Reference from hand.
03
Camera and composition
Lock the camera to the approved styleframe composition. Match the angle, focal length, and distance exactly. The client approved a specific composition. Any deviation requires re-approval.
04
Lighting setup
Match the lighting direction from the approved styleframe. For product viz: HDRI as primary environment light, key light to create the hero highlight, fill to control shadow depth. Every product needs a hero highlight, the one bright reflection that defines the product's surface quality.
05
Test render and greyscale check
Render at 25% resolution. Desaturate the result. Does the product read clearly? Is the hero highlight visible? Is there depth in the background? Fix all issues at this stage before committing to a final render.
06
Final render
Full resolution, all AOVs enabled. EXR 32-bit for composite flexibility. Render all required angles in the same session while the scene is open and set up correctly.
Software Setup by Project Type
Product Visualisation / Maya + Redshift
rsStandard material for all product surfaces
rsPhysicalLight for key and accent lights
rsIBL for environment reflection and fill
Bucket render, EXR 32-bit, 256 samples final
OptiX denoiser for clean output at speed
3D Explainer / UE5 + Lumen
Lumen GI and reflections for real-time iteration
Sky Atmosphere + Directional Light for exterior
Exponential Height Fog for industrial atmosphere
Movie Render Queue for broadcast quality output
Path Tracer for hero stills requiring maximum quality
Chapter 05

CLIENT REVIEW
PROCESS

Present correctly. Receive useful feedback. Protect your time.

How you present work to a client determines the quality of feedback you receive. A render sent as an email attachment with no context produces feedback like "can we make it more dynamic" or "it does not feel right". A render presented with a brief explanation of every visual decision produces specific, actionable feedback that can be implemented directly.

How to Present a First Render
01
Reference the approved styleframe
Always begin with a side-by-side comparison between the approved styleframe and the first render. This anchors the client's feedback to the direction they already approved rather than their current mood or preference.
02
Annotate what is intentional
Before sending, note two or three key lighting and composition decisions: "The key highlight is placed at 2 o'clock to show the curved glass edge. The background is deliberately dark to separate the product." This prevents these decisions from being questioned as mistakes.
03
Ask specific questions
Rather than "what do you think?", ask "does the product angle match your intended presentation angle? Is the colour temperature reading as intended?" Specific questions produce specific answers.
04
Set the revision expectation
Remind the client at every review stage how many revision rounds are included. "This is review round one of two included in the project scope." This prevents unlimited informal feedback being treated as a free revision.
Handling Vague Feedback

When a client says "it does not feel right", your response is: "Can you point to a specific element, the lighting, the angle, the background, the product colour? And can you share a reference image that shows what you are looking for?" Vague feedback cannot be implemented. Your job is to convert it into specific, actionable direction before touching the scene.

Chapter 06

RENDERING FOR
BROADCAST

Technical requirements are non-negotiable. Know them before you render.

Broadcast CGI has specific technical requirements that differ from portfolio renders and social media content. A render that looks correct on your monitor can fail a broadcast quality check, be rejected at delivery, and require a full re-render. Know the specifications before the first pixel is rendered.

Broadcast Technical Specifications
SpecificationStandard ValueNotes
Resolution1920 x 1080 minimum / 3840 x 2160 for UHDConfirm with client before rendering
Frame Rate25fps PAL / 29.97fps NTSC / 24fps cinemaRegion-dependent. Middle East uses PAL 25fps
Colour SpaceRec. 709 for broadcast / sRGB for onlineRender in linear, convert on export
CodecProRes 422 HQ or DNxHR for deliveryNever deliver H.264 for broadcast
Safe ZonesTitle safe 90%, action safe 93%Keep all key elements within safe zones
LuminanceLegal range 16 to 235 for broadcastAvoid superwhite and superblack
AudioSeparate from video, WAV or AIFFNever embed audio in CGI deliverable
Render Settings for Commercial Work
Maya / Redshift
Output: EXR 32-bit per frame
Colour Space: ACEScg or Linear sRGB
Sampling: 256 min for broadcast finals
Motion Blur: 0.5 shutter, 16 samples
Denoiser: OFF for animation, ON for stills
UE5 / Movie Render Queue
Output: EXR sequence per frame
AA: Temporal Super Sampling, 128 samples
Colour: ACES tonemapper for broadcast
Motion Blur: Enable for animation
Console: r.ScreenPercentage 200 for AA quality
Chapter 07

FINAL DELIVERY
AND HANDOVER

Delivery is the last impression. Make it professional.

Final delivery is not sending a file. It is a professional handover that confirms every agreed deliverable has been provided, in the correct format, at the correct specifications. A clean delivery builds the trust that generates repeat business. A chaotic one, multiple emails, wrong formats, missing files, does the opposite regardless of how good the work is.

Delivery Checklist
All agreed deliverables present: Every angle, every format, every version listed in the quote. Check against the original quote document line by line before sending.
Correct technical specifications: Resolution, frame rate, colour space, codec. Open every file and verify before delivering. A corrupted render discovered after delivery means a re-render under time pressure.
Organised folder structure: One folder, clearly labelled with project name and date. Sub-folders for finals, proofs, and source files if included. The client must be able to find any file without asking you.
Delivery note: A brief written note listing what is included, any technical notes the client needs, and the usage rights as agreed. One page maximum.
Invoice sent simultaneously: Final invoice sent at the same time as the delivery, not after. The final payment is due on delivery, not after the client has reviewed and potentially started using the work.
Source file retention: Keep the source files, Maya scene, textures, UE5 project, for a minimum of 12 months. Clients occasionally request changes after delivery. Having the source files available is a billable service.
File Naming Convention
Client_Project_Version_Date
Example: Samsung_S21Ultra_Final_v1_2024. Every file, every time. No exceptions. "Final_FINAL_useThis.mp4" is not a professional deliverable.
Version control
v1 for first delivery, v2 for revision one, v3 for revision two. The version number tells both you and the client exactly where in the process each file belongs.
Never delete old versions
Clients occasionally want to revert to a previous version. Keep all versions until the project is fully closed and invoiced paid.
Case Study 01
Product Visualisation / Samsung Galaxy S21 Ultra

SAMSUNG
GALAXY S21 ULTRA

Agency: Box of Art. Timeline: 1 week. Software: Maya, Redshift, Photoshop.

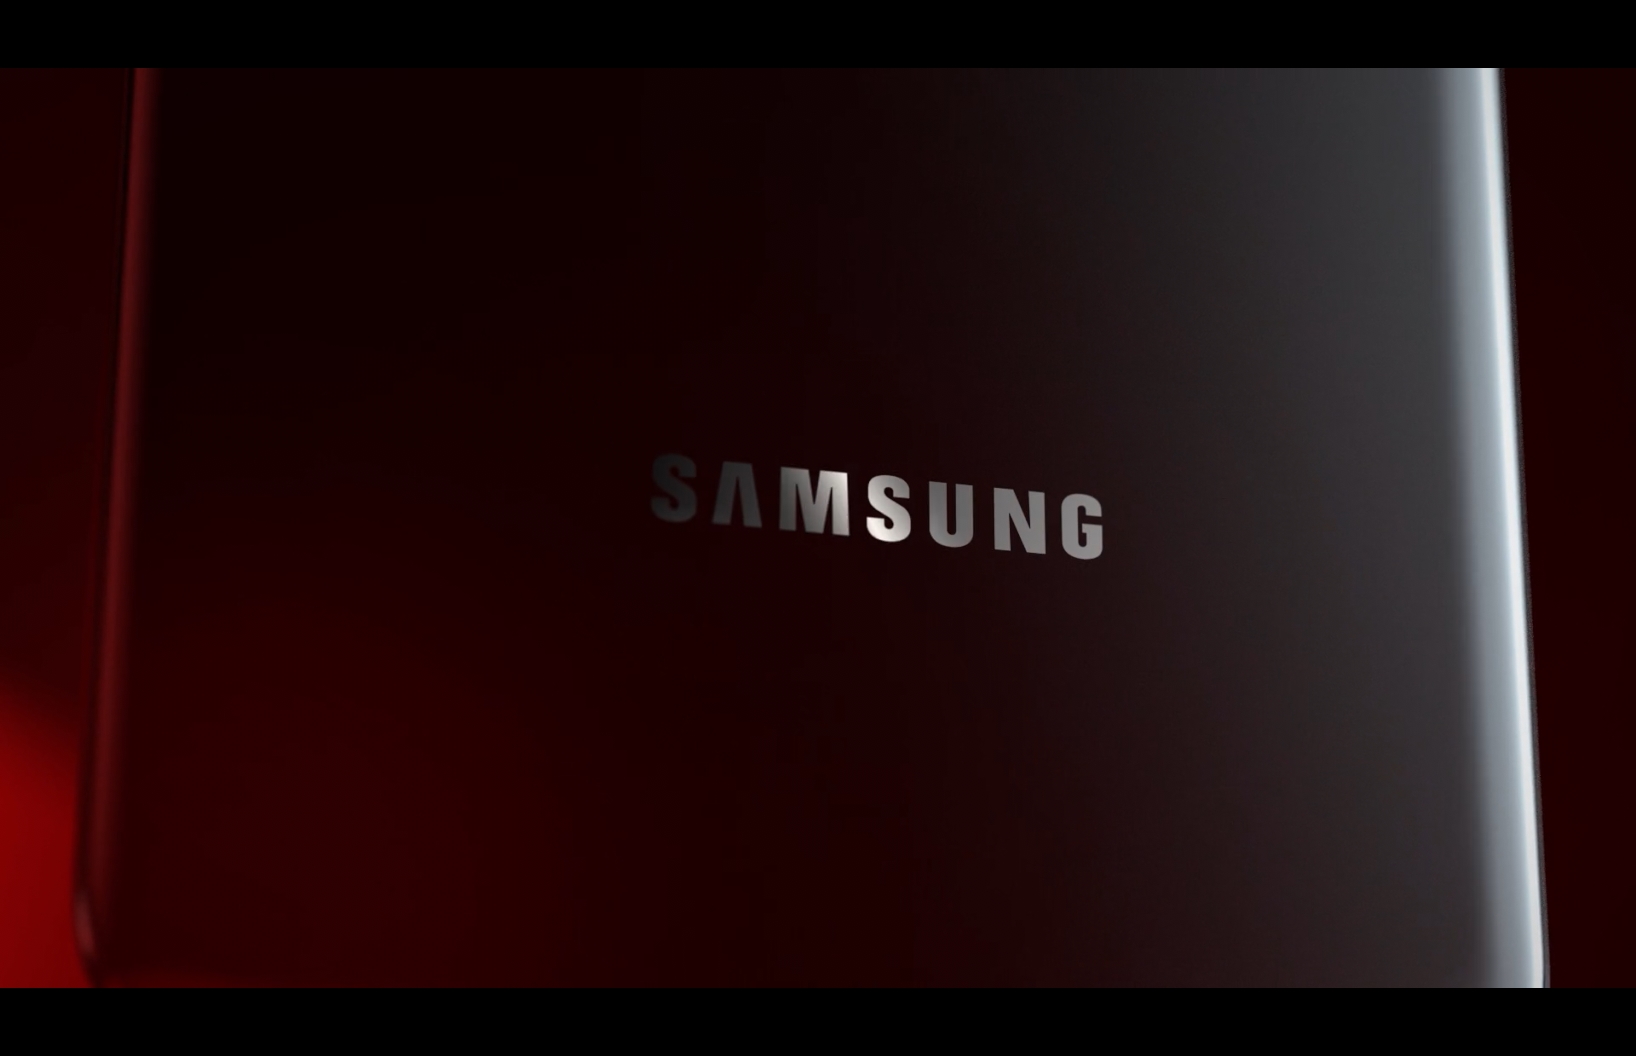
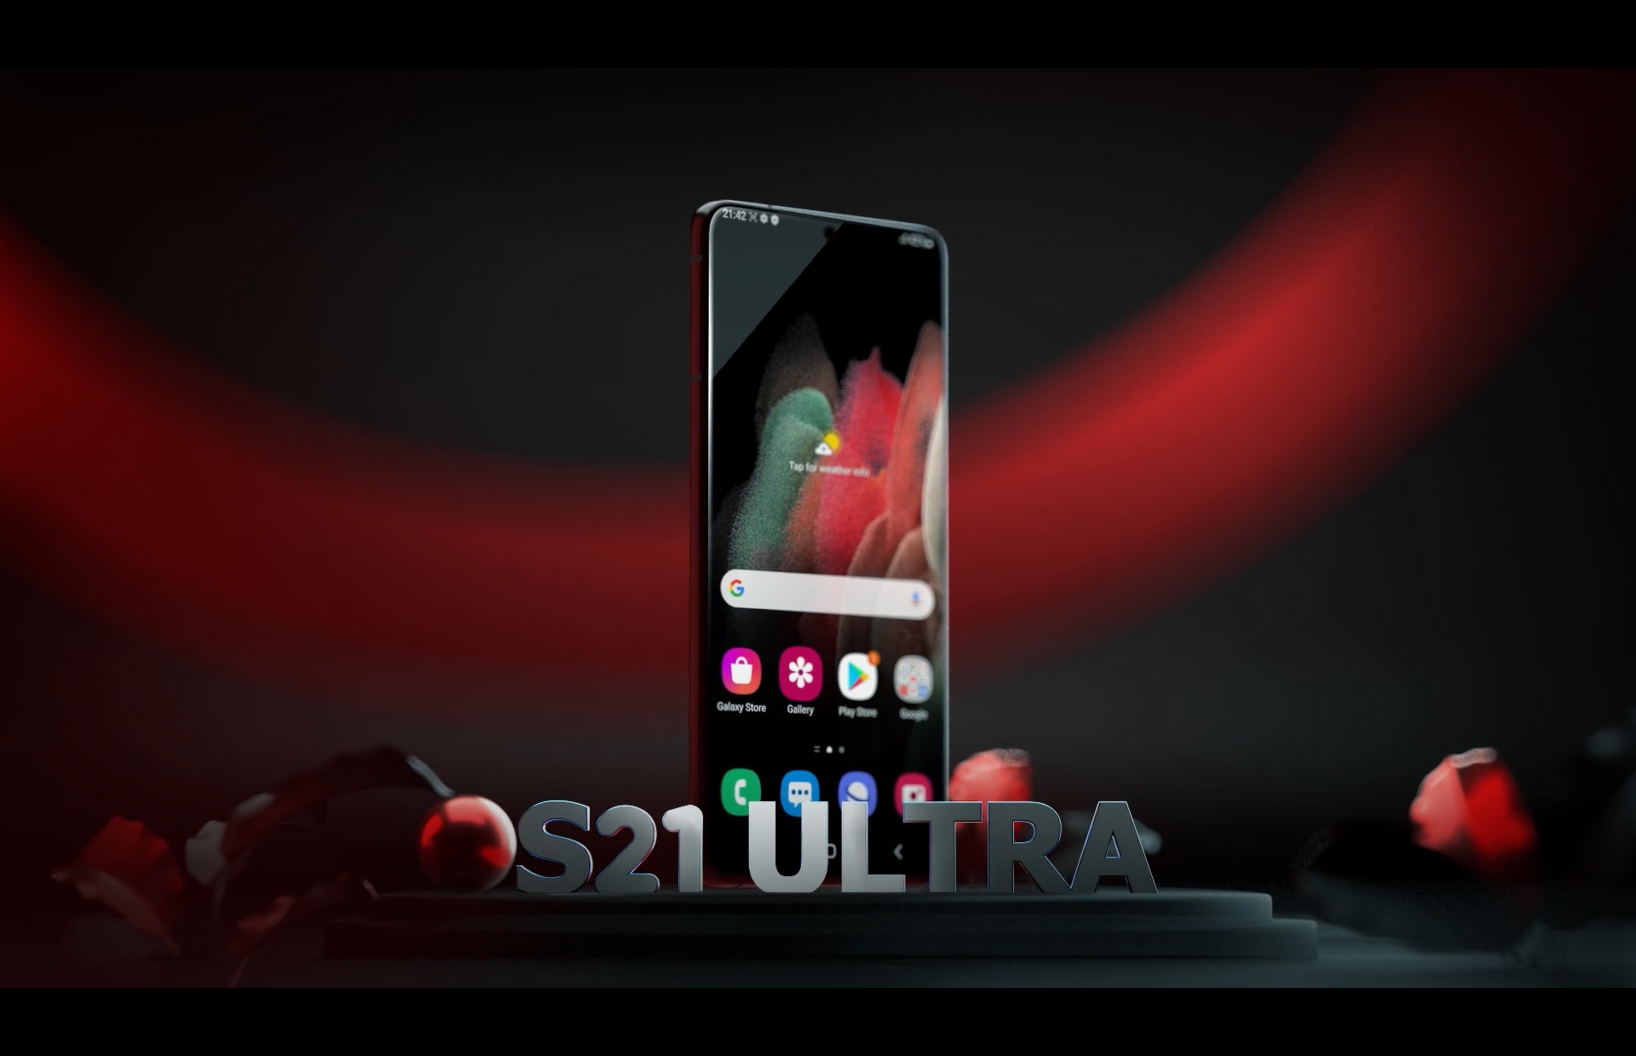
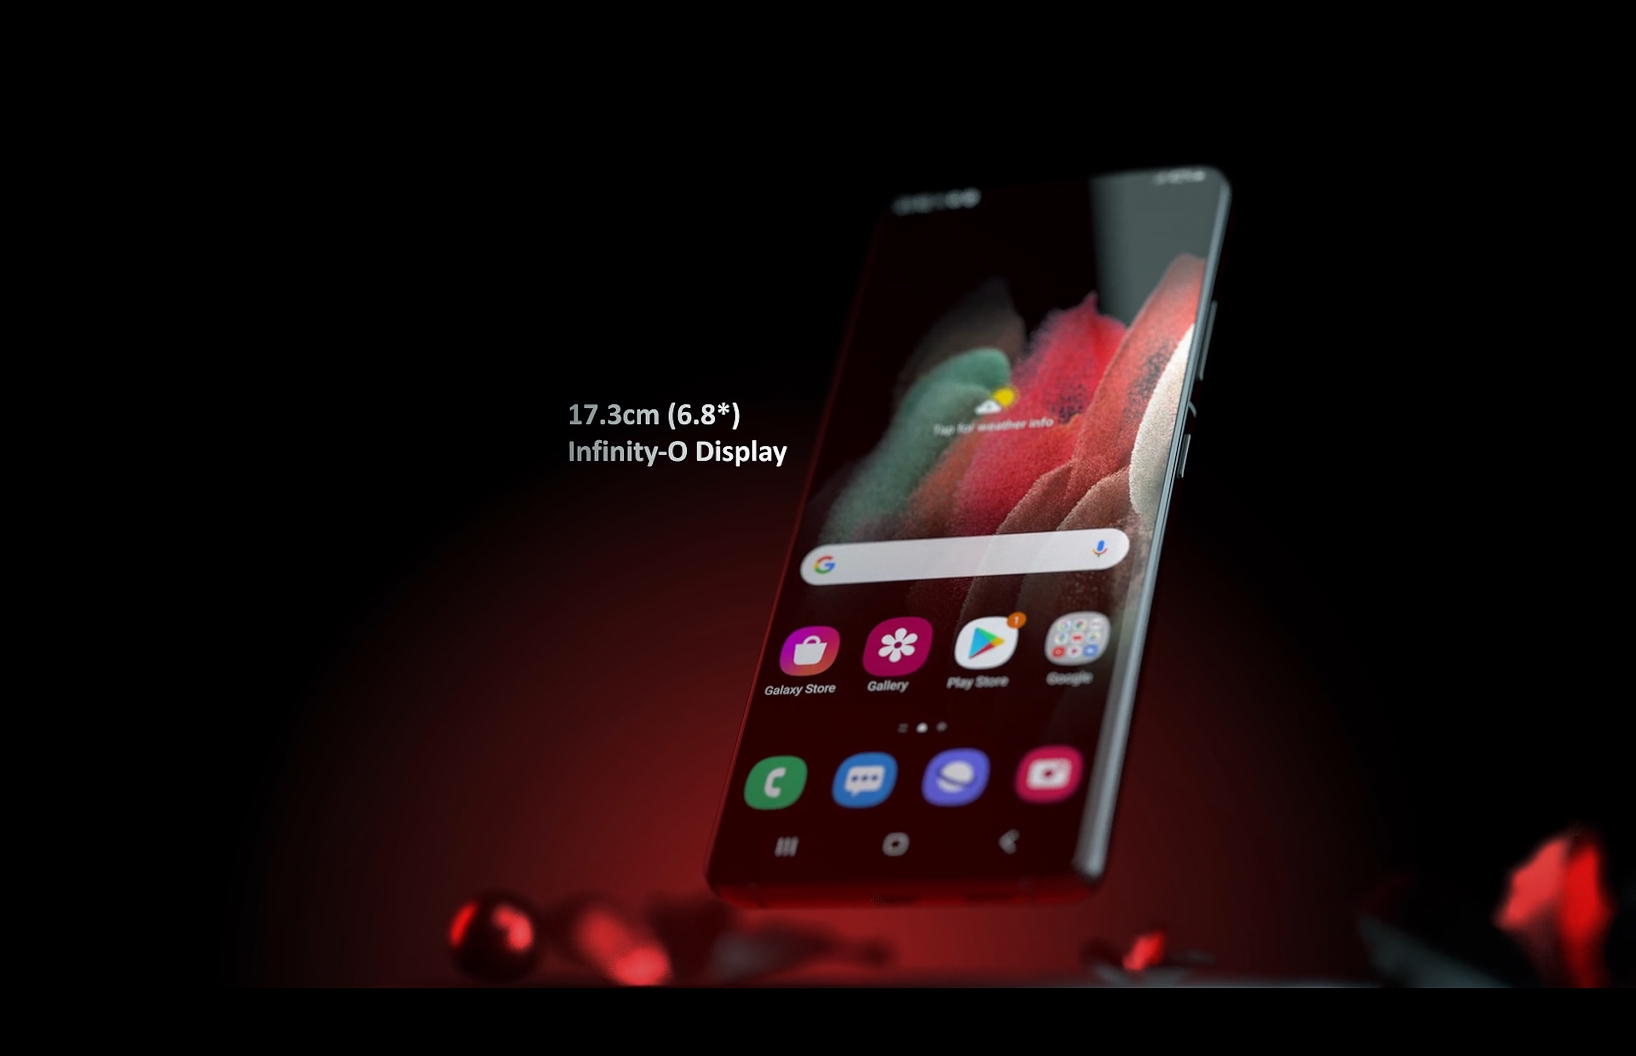
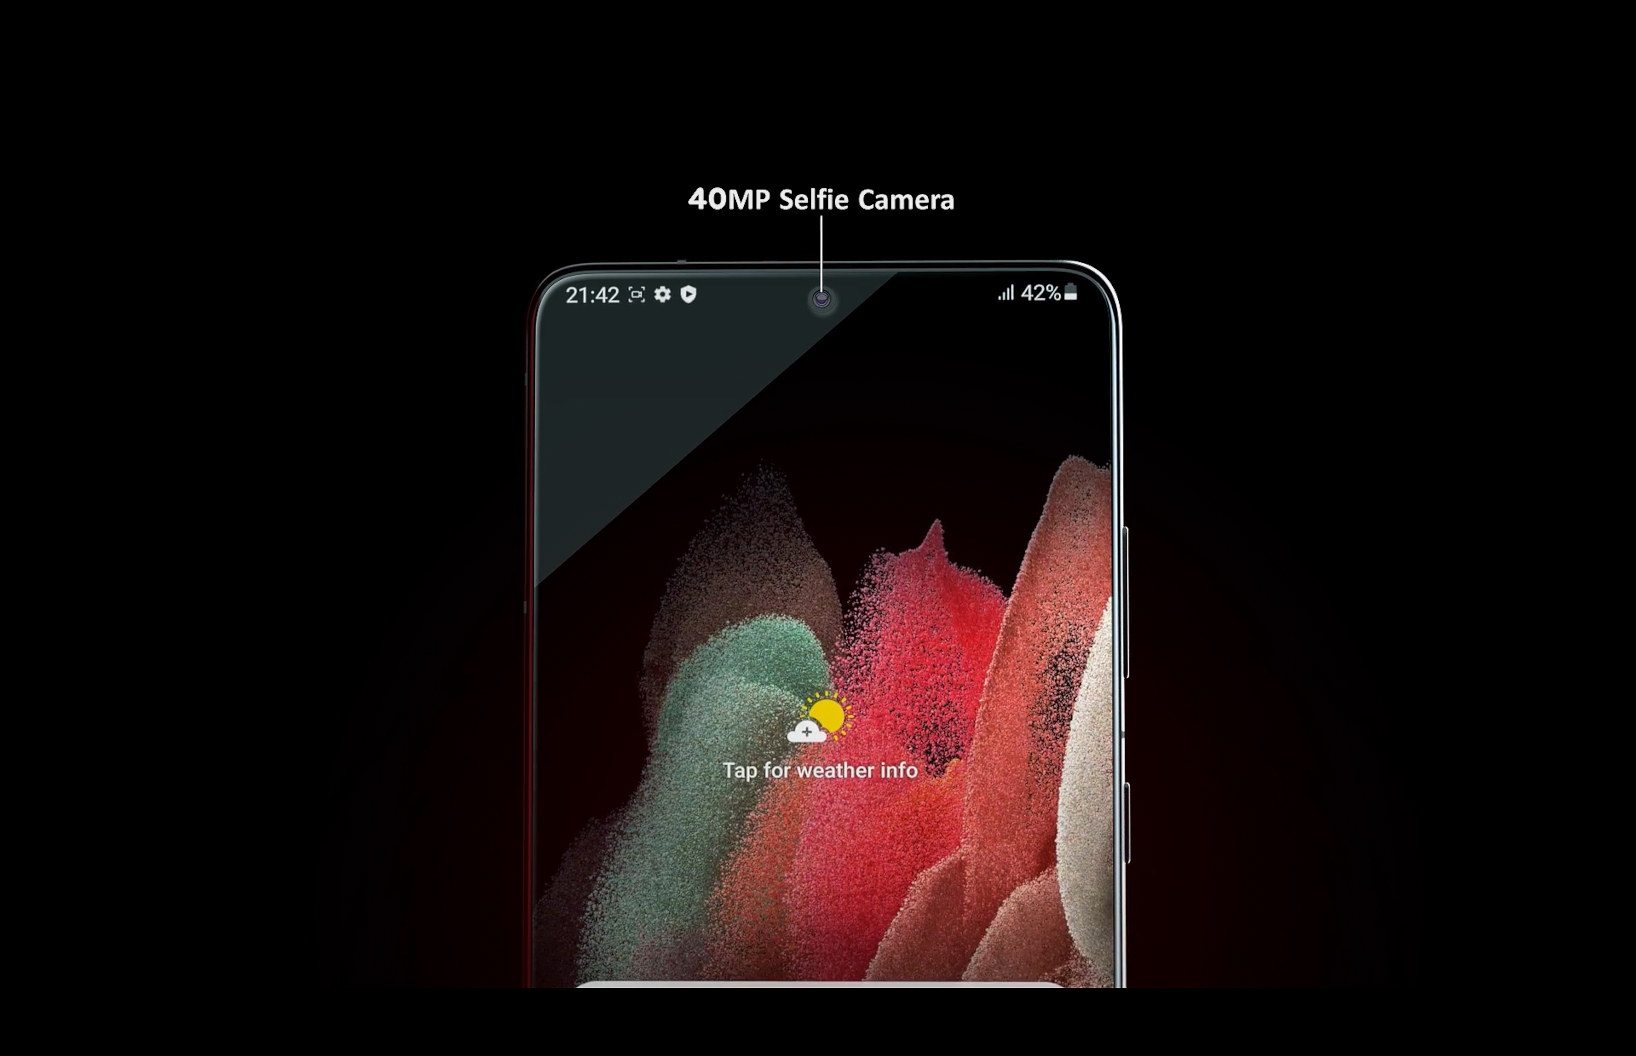
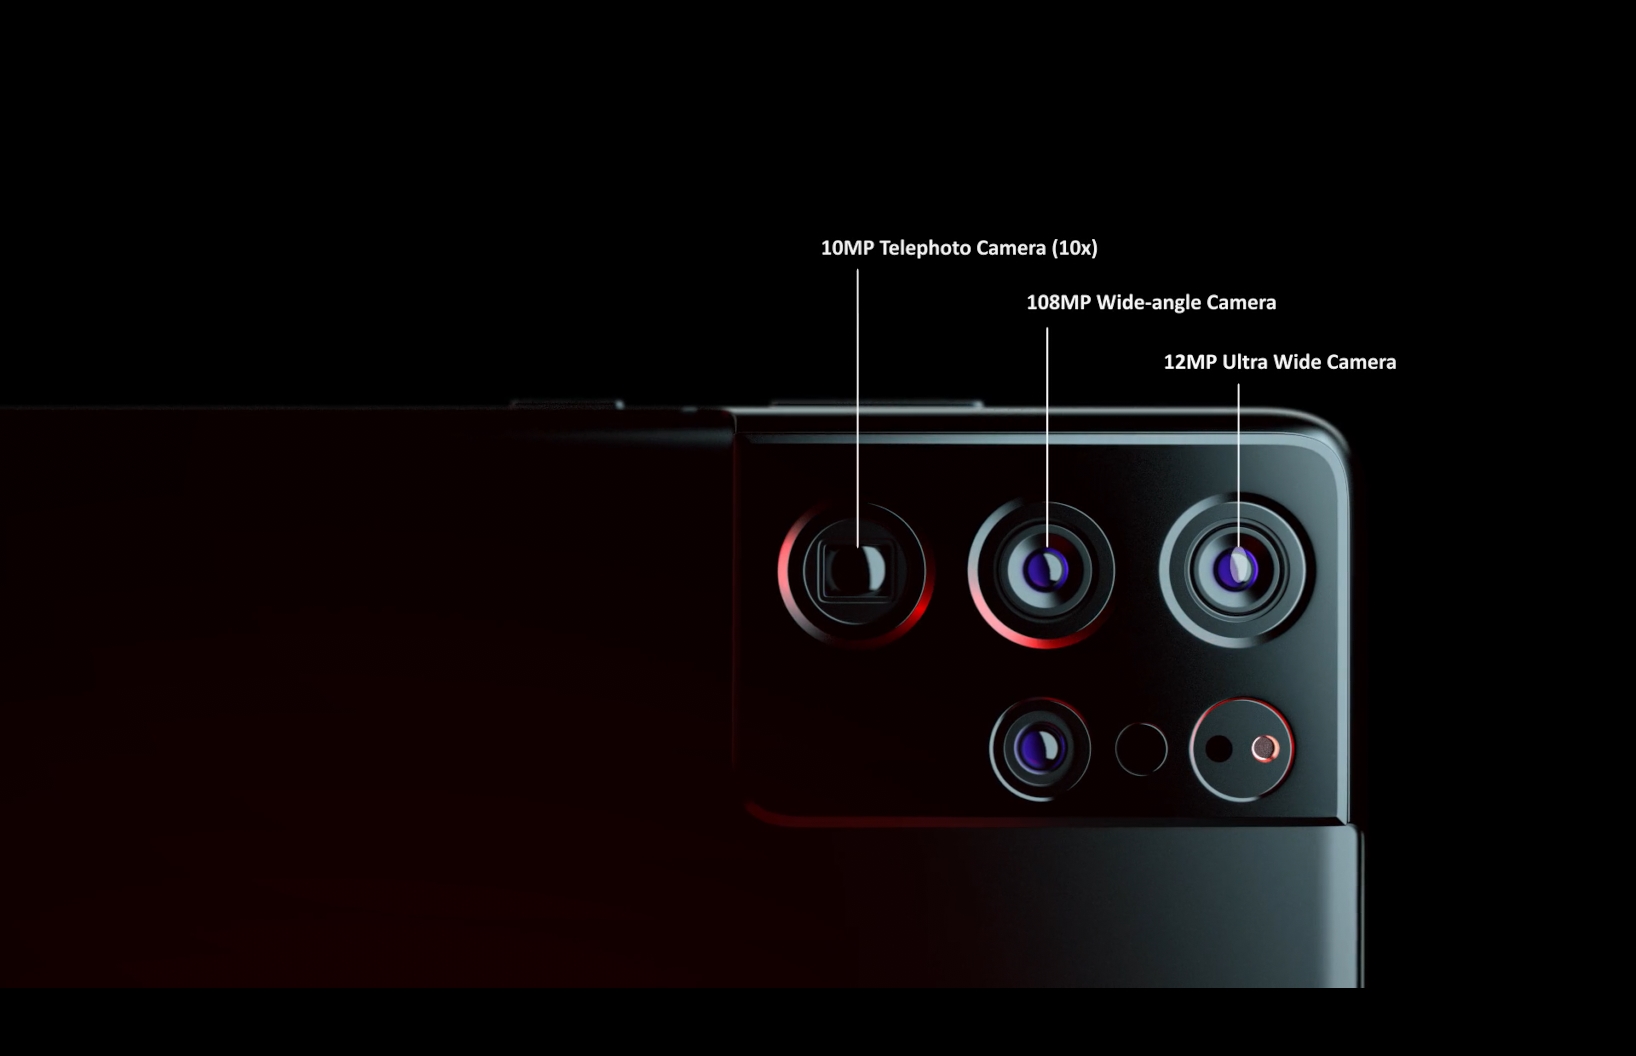
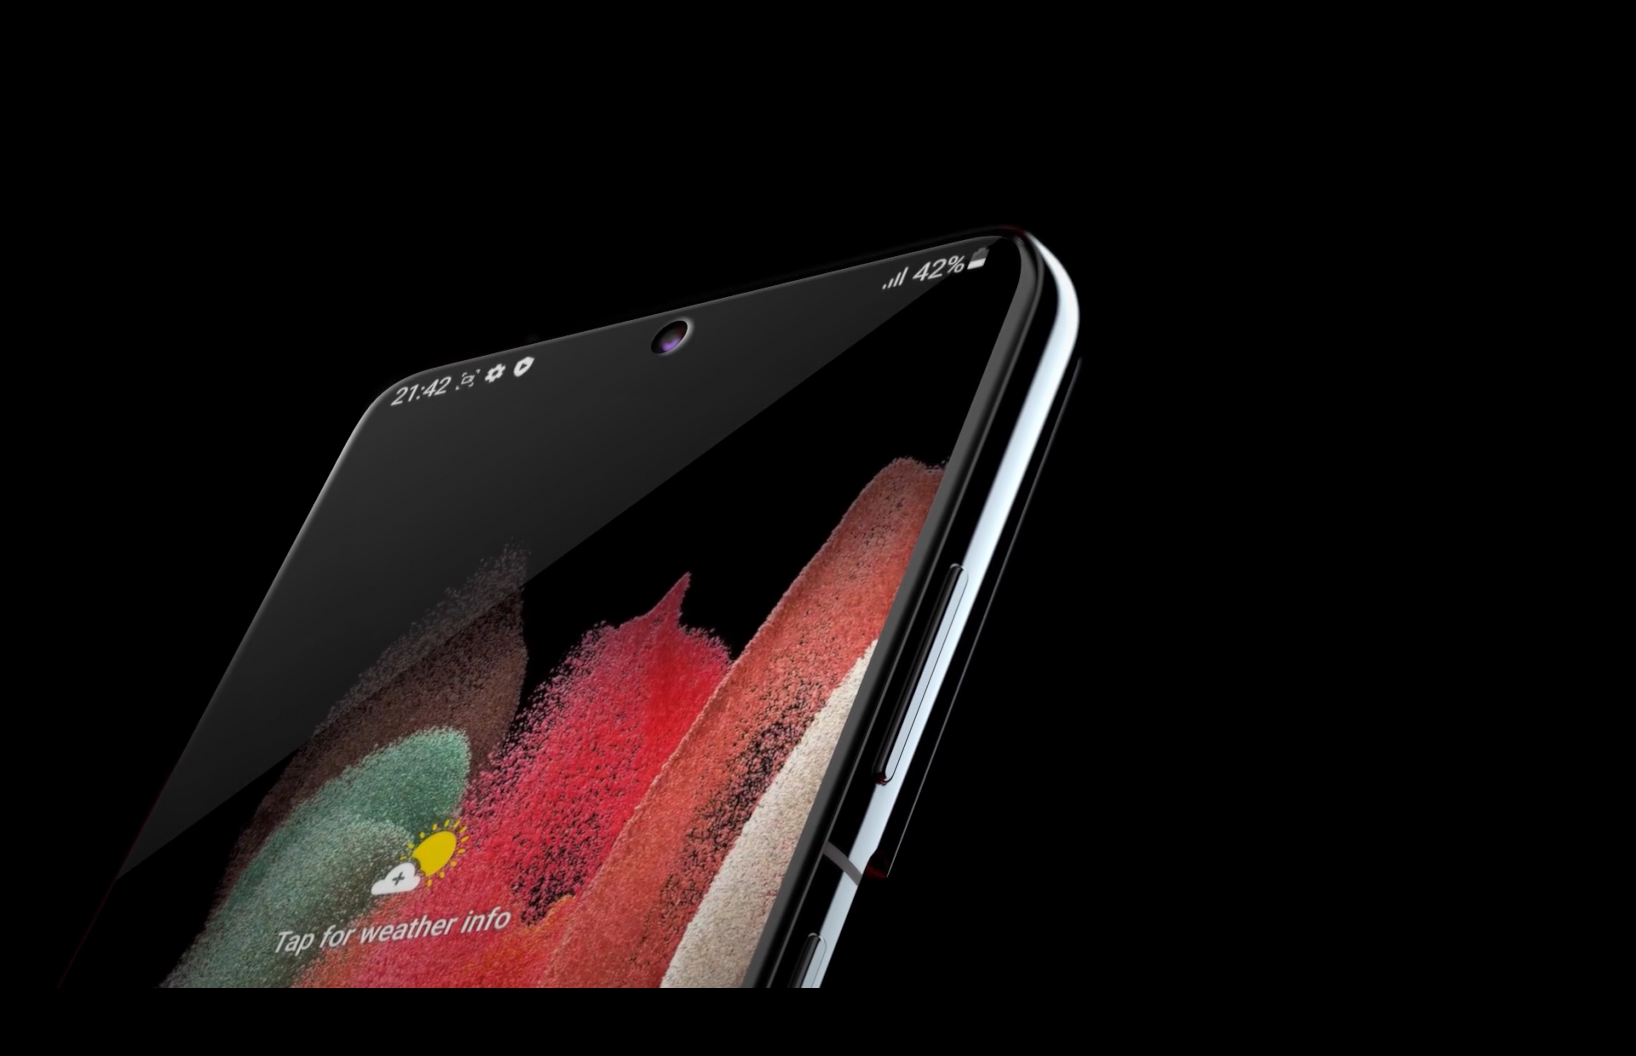
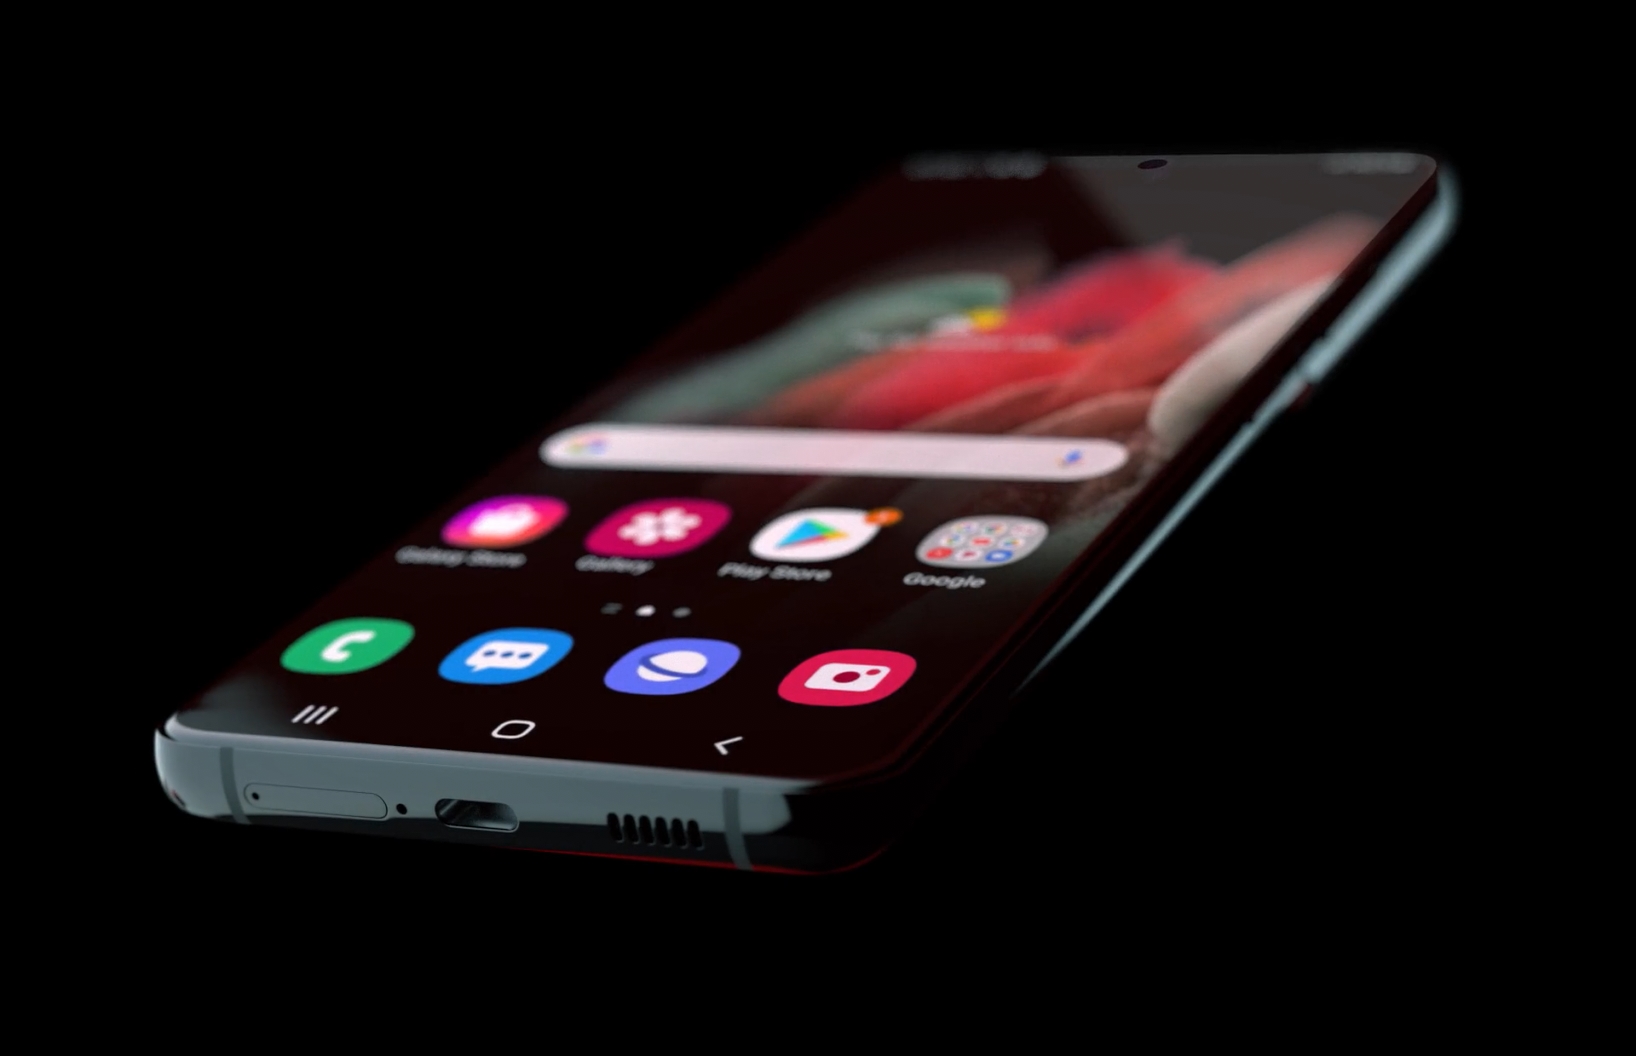
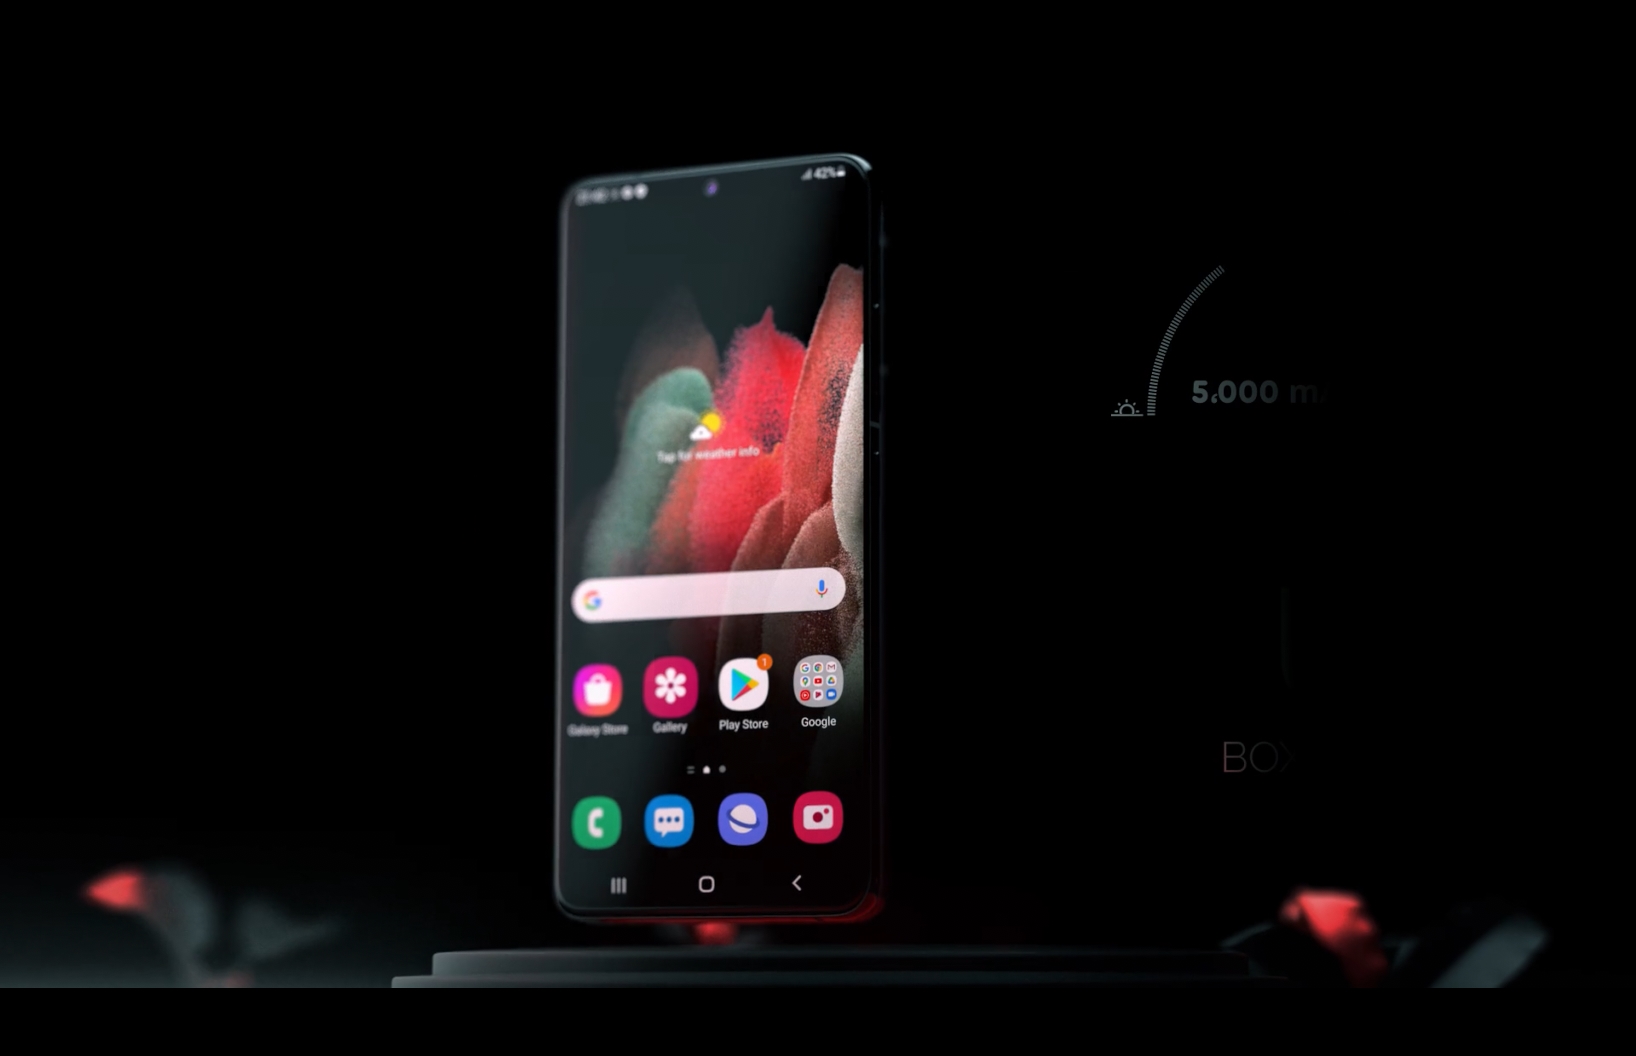
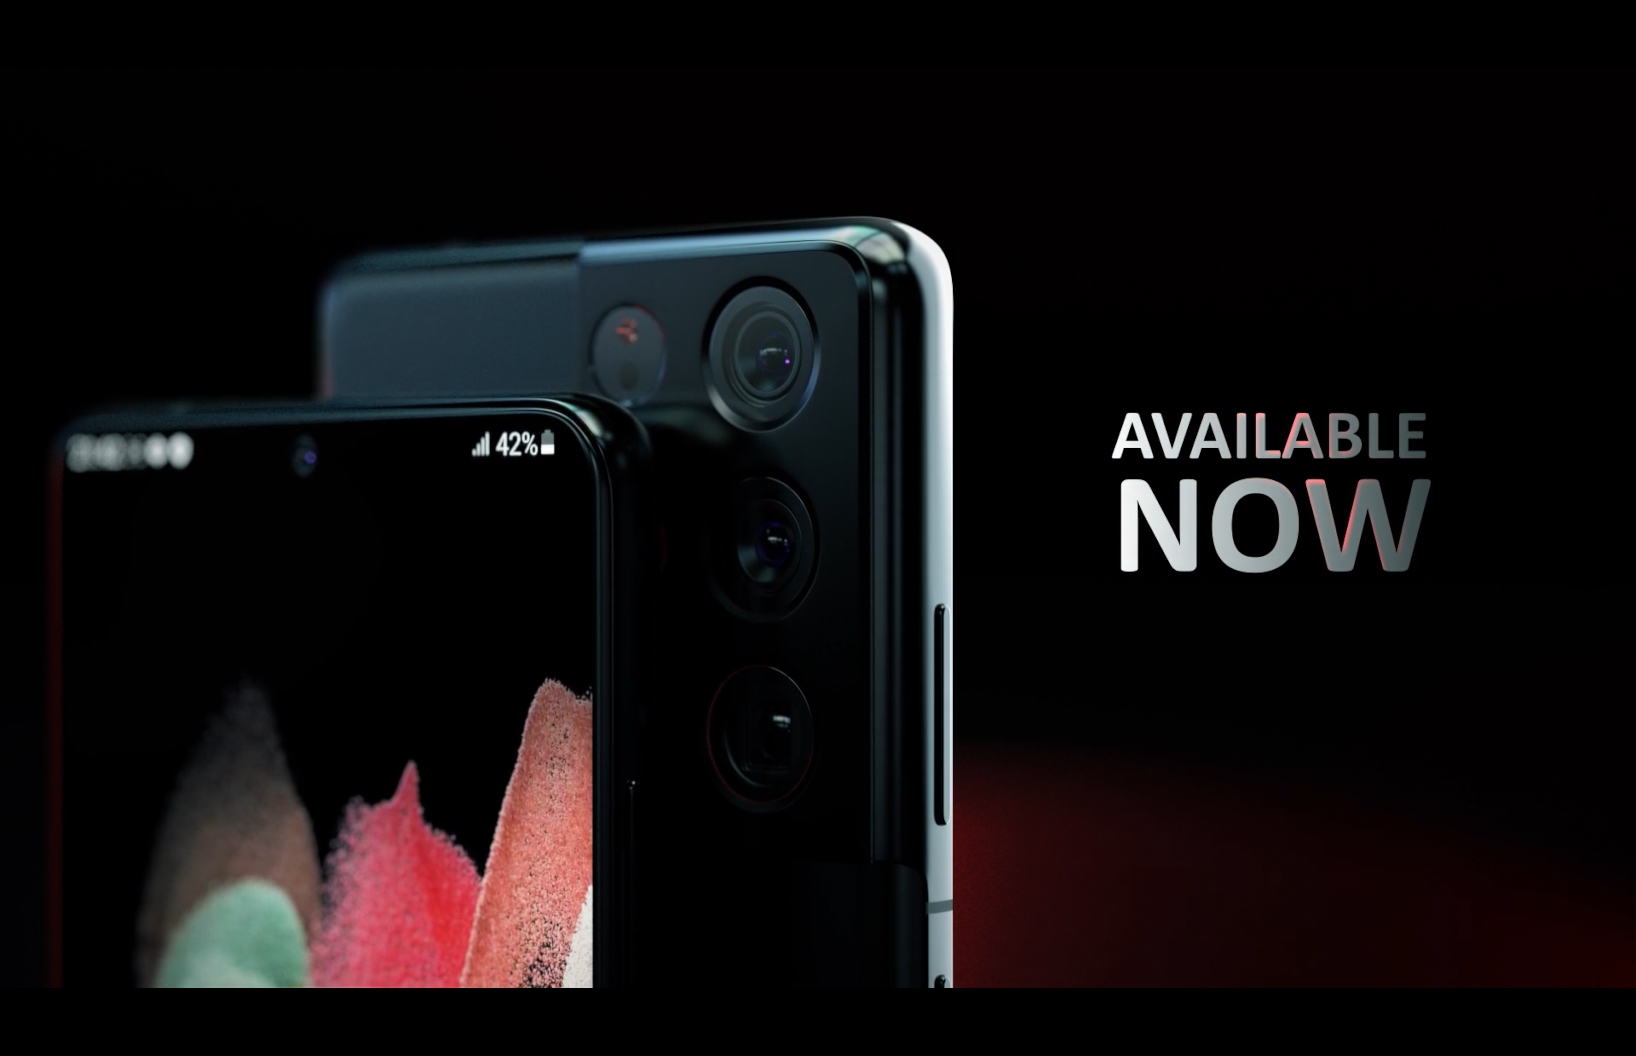
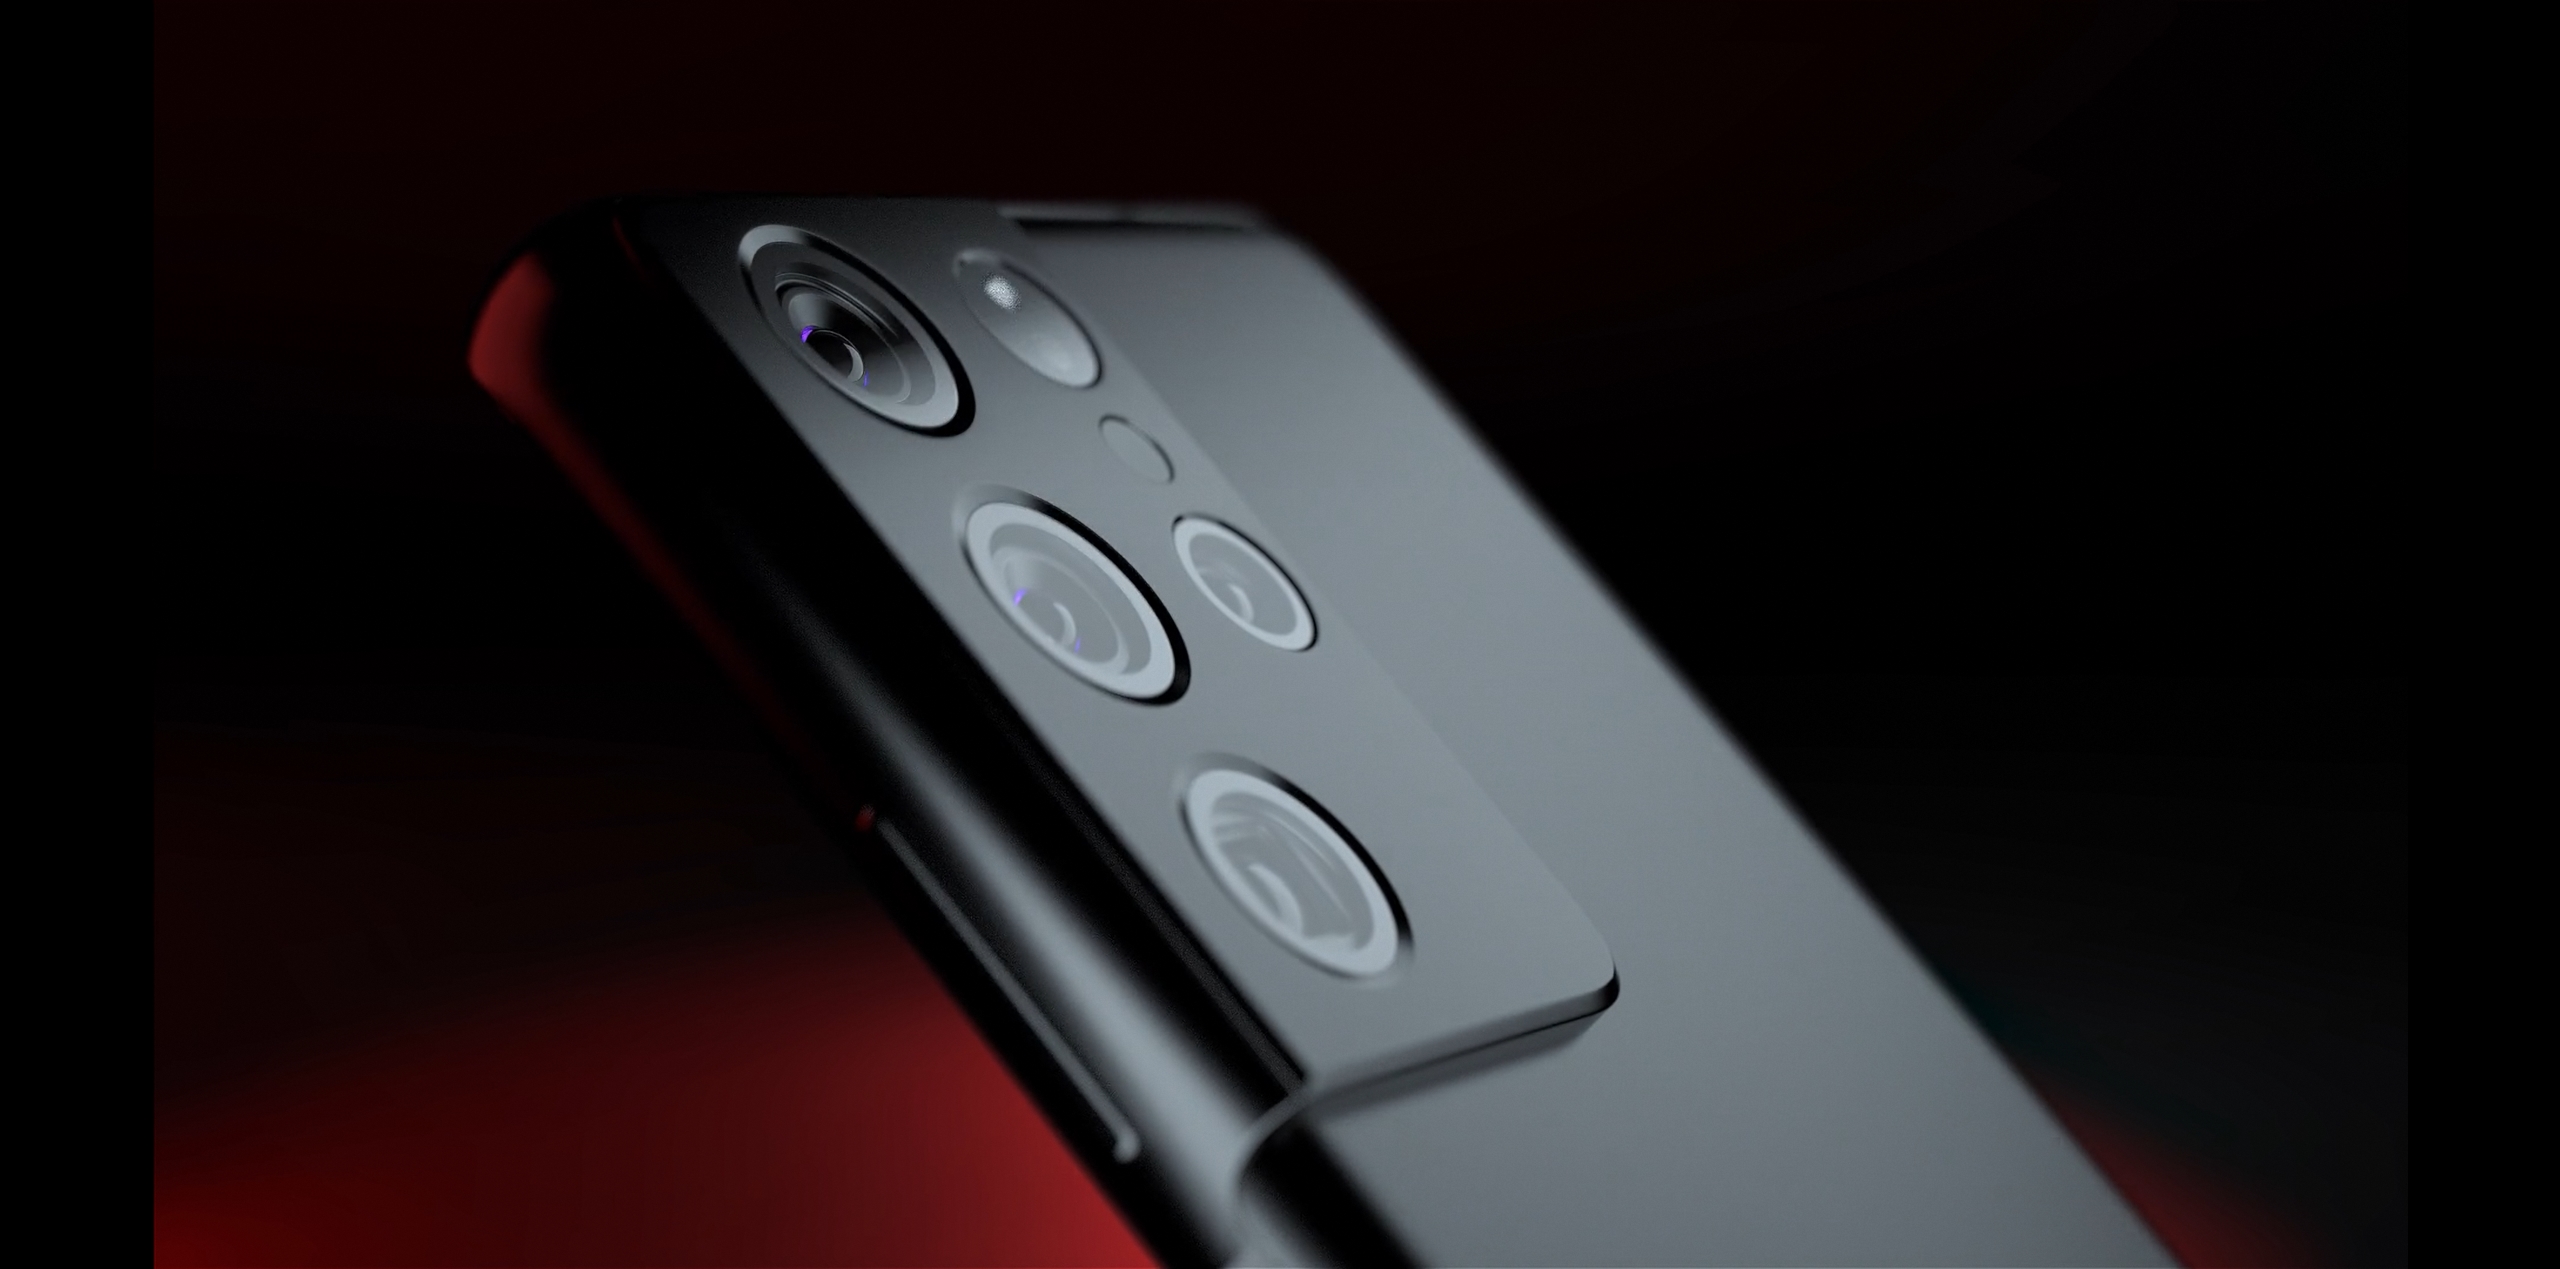
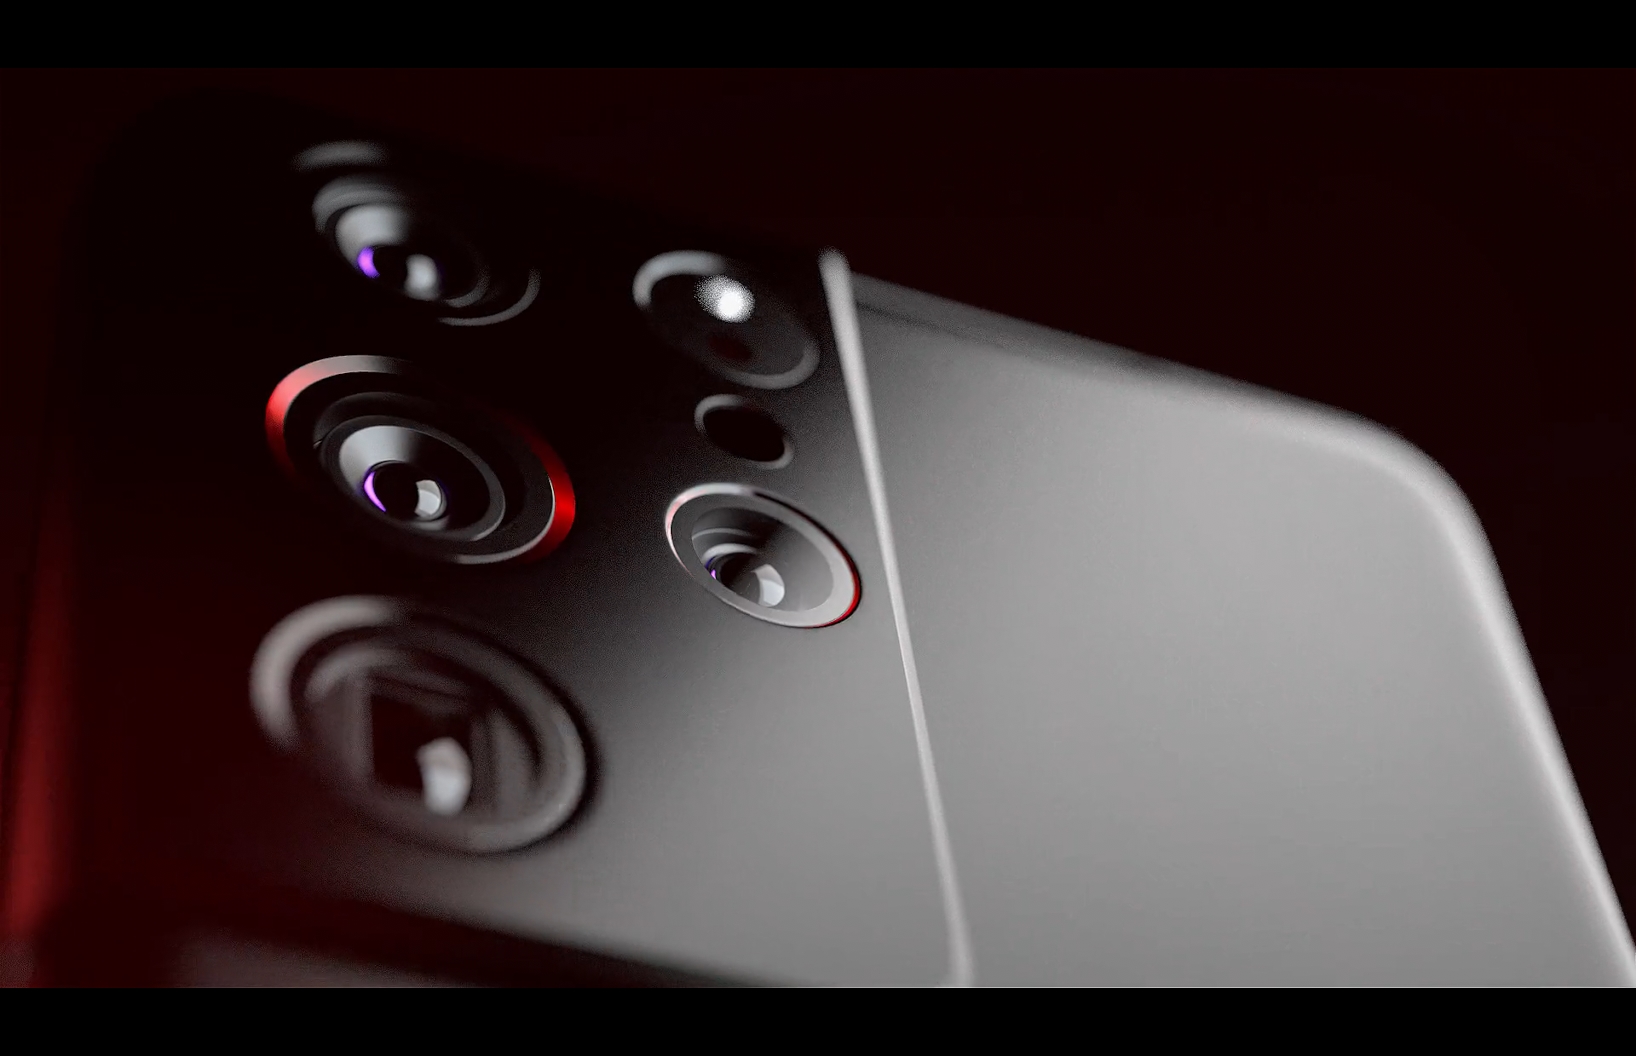
The Samsung Galaxy S21 Ultra project came through Box of Art, a creative agency. The brief was product visualisation for the S21 Ultra, emphasising the camera system, the premium materials, and the distinctive design language of the flagship device. Timeline was one week from brief to delivery.

Product visualisation for a flagship smartphone is one of the most technically demanding CGI tasks in commercial work. Every surface, every radius, every reflection must be accurate. Samsung's brand guidelines specify exact colour values, material qualities, and presentation standards. There is no room for approximation.
Project Timeline
Day 1Brief + Quote
Brief received, questions raised, quote submitted
Clarified exact deliverables, number of angles, intended use, and revision allowance. Quote submitted within 4 hours of brief receipt. 50% deposit invoice sent.
Day 2Modeling
3D model built from official Samsung reference photography
20+ reference images at multiple angles. Every surface break, every camera ring detail, every edge radius matched exactly. Model completed same day.
Day 3Texturing
Materials and surface properties applied
Phantom Black colourway. Glass panel roughness 0.02, camera ring brushed aluminium 0.35, rear panel ceramic matte 0.65. Every material validated against reference.
Day 4Lighting + Styleframe
Lighting setup and styleframe approval
Three lighting directions presented. Studio precision, environmental drama, and soft luxury. Agency selected the studio precision direction with a warm accent key. Written approval received.
Day 5 to 6Final Renders
Final renders and composite
All angles rendered at full resolution. EXR passes composited in Photoshop. Colour grade applied. Delivered to agency for review.
Day 7Delivery
Revisions and final delivery
One minor revision round: slight camera angle adjustment on one hero shot. Final files delivered. Invoice for remaining 50% sent simultaneously.
Production Images
Samsung S21 Ultra
Hero angle / Studio lighting
Samsung S21 Ultra
Camera system detail
Samsung S21 Ultra
Front face
Samsung S21 Ultra
Rear panel material
Samsung S21 Ultra
Edge and profile
Samsung S21 Ultra
Camera ring detail
Samsung S21 Ultra
Hero composite final
Samsung
Angle 01
Samsung
Angle 02
Samsung
Angle 03
Samsung
Final delivery
Key Technical Decisions
Camera ring
Brushed aluminium with anisotropic roughness. Roughness 0.35 in the brush direction, 0.55 perpendicular. Creates the directional highlight that defines premium metal.
Rear glass panel
Roughness 0.05, high reflectivity. The gradient colour shift in the Phantom Black colourway required a custom gradient material, not a flat colour.
Hero highlight
A single area light placed to create one dominant highlight across the camera ring. This highlight is the visual signature of the image. Everything else is secondary.
Background
Pure black with a subtle radial gradient. Keeps attention entirely on the product. No environment detail competing with the subject.
Final Commercial
Samsung Galaxy S21 Ultra / Final Commercial / Agency: Box of Art
What Made This Project Work

The timeline was tight at one week. The project delivered on time because the brief was fully clarified on day one, the styleframe was approved before any rendering began, and each day had a defined deliverable. No time was lost on undefined work or rejected renders.

Case Study 02
3D Explainer / Petroleum Development Oman

PDO OMAN
3D EXPLAINER

Studio: Framezen. Client: Petroleum Development Oman. Software: Maya, Redshift, UE5.

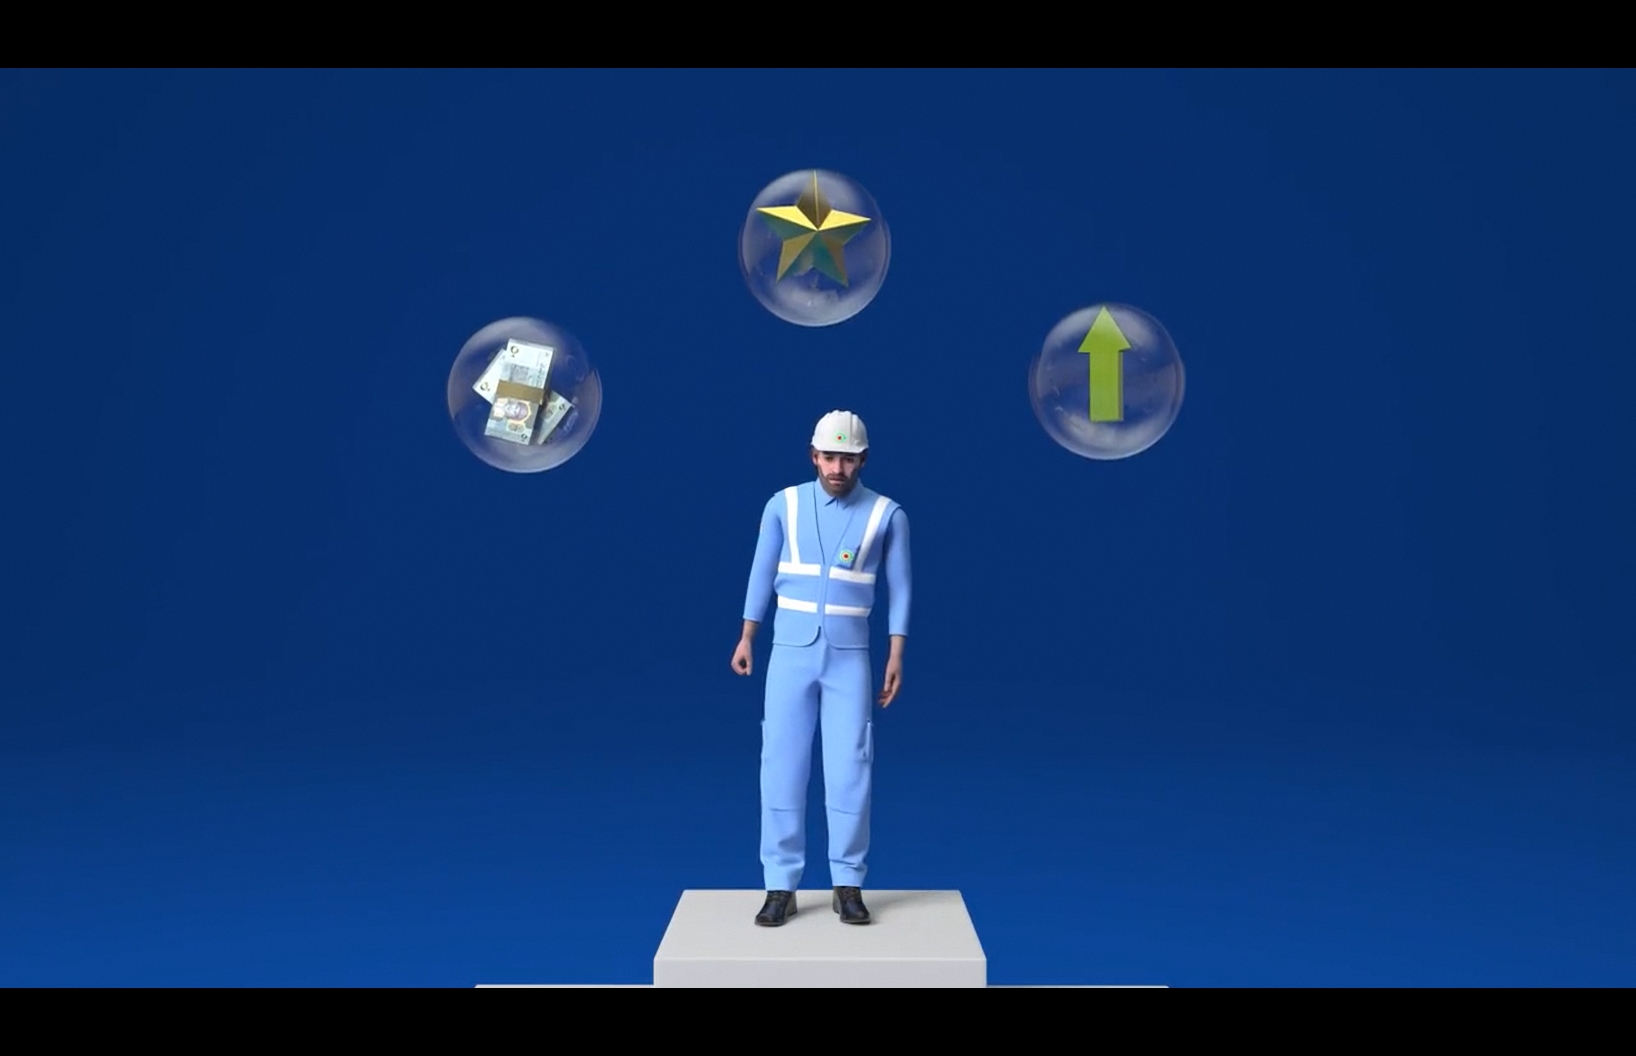
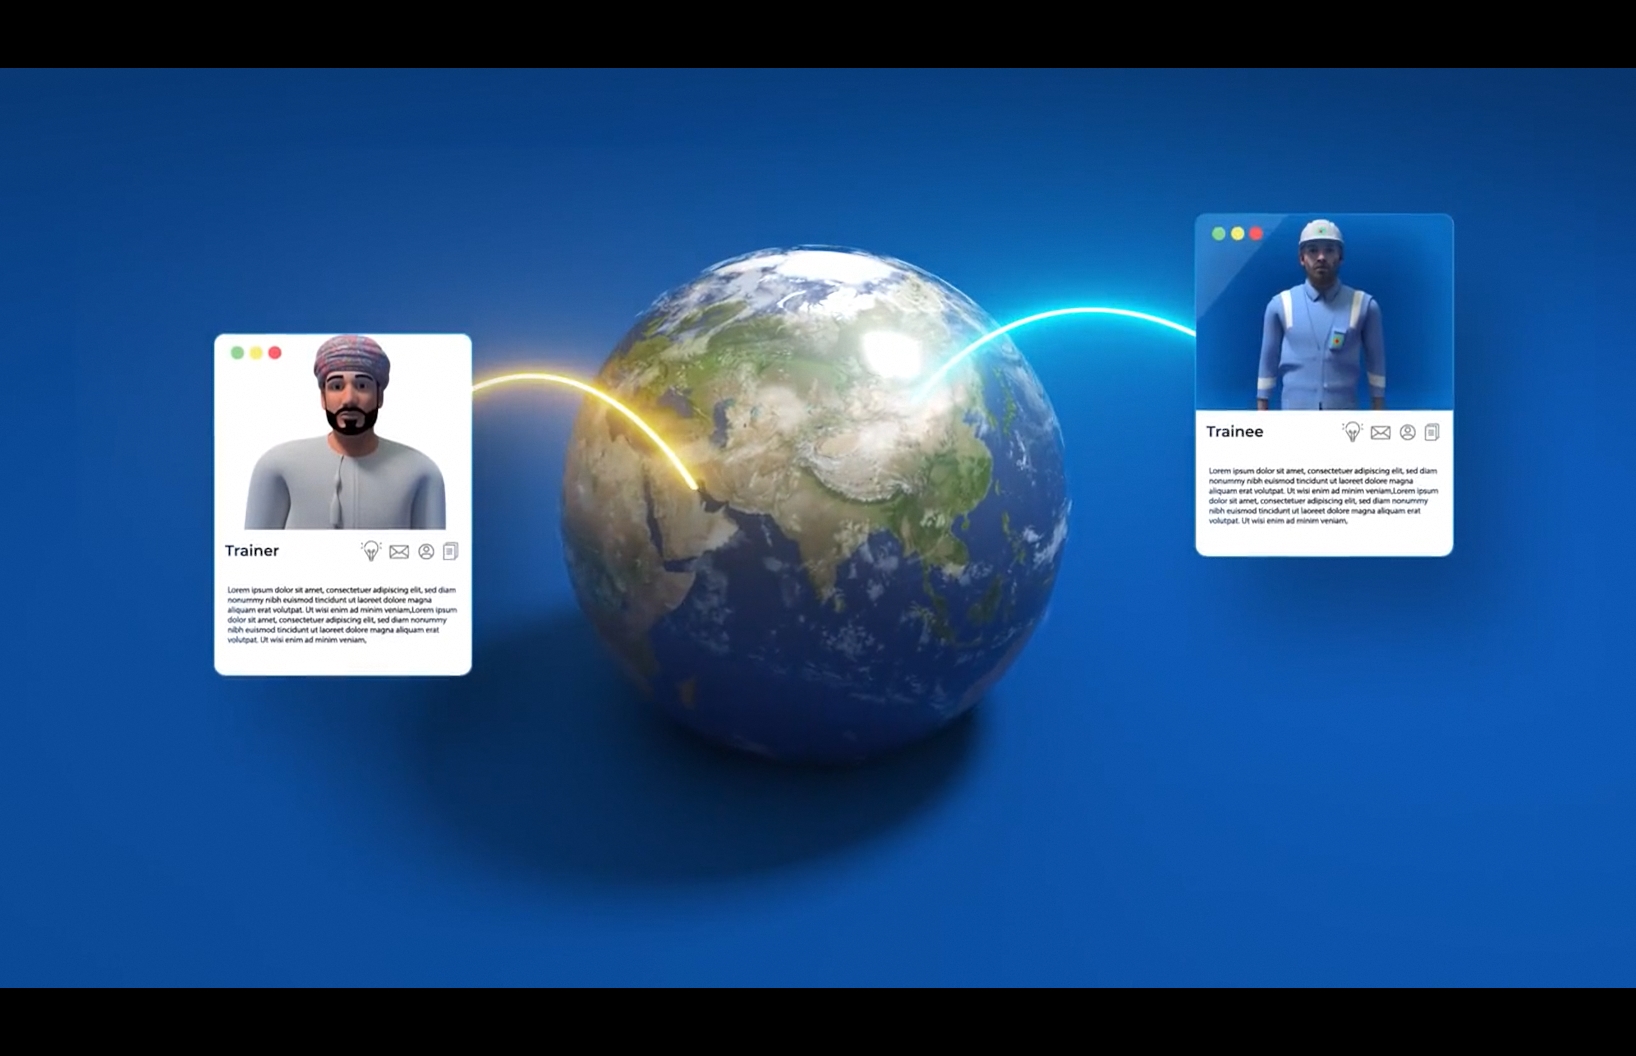
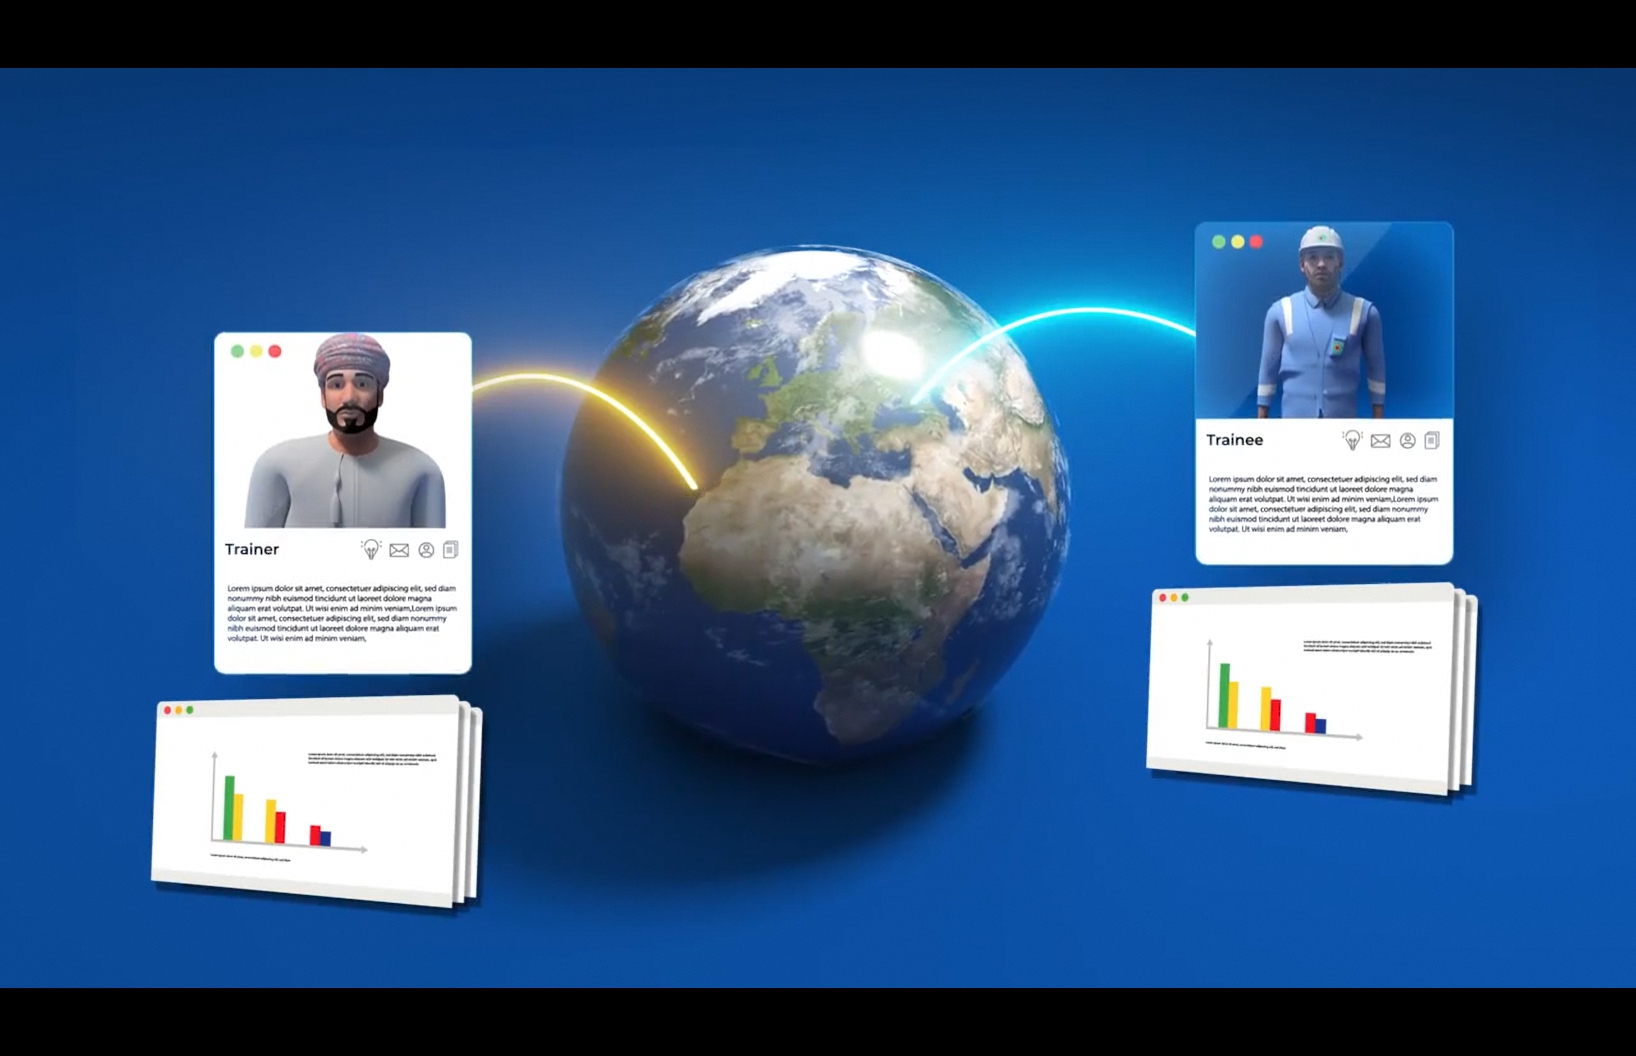
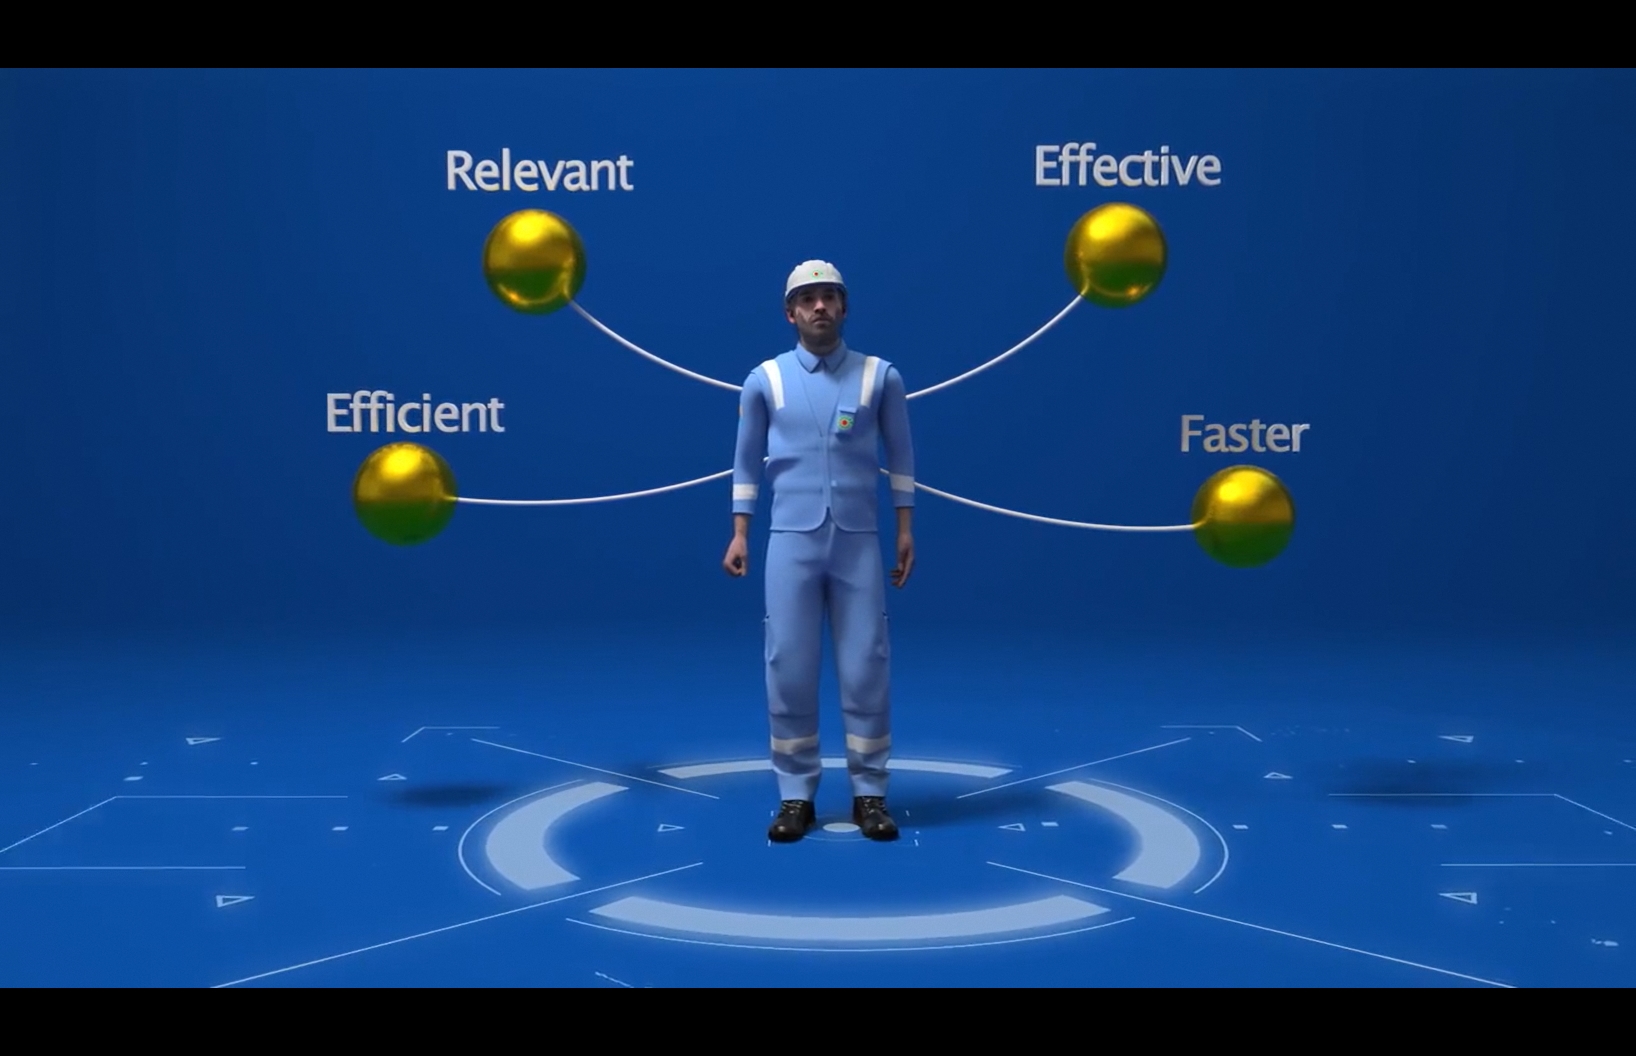
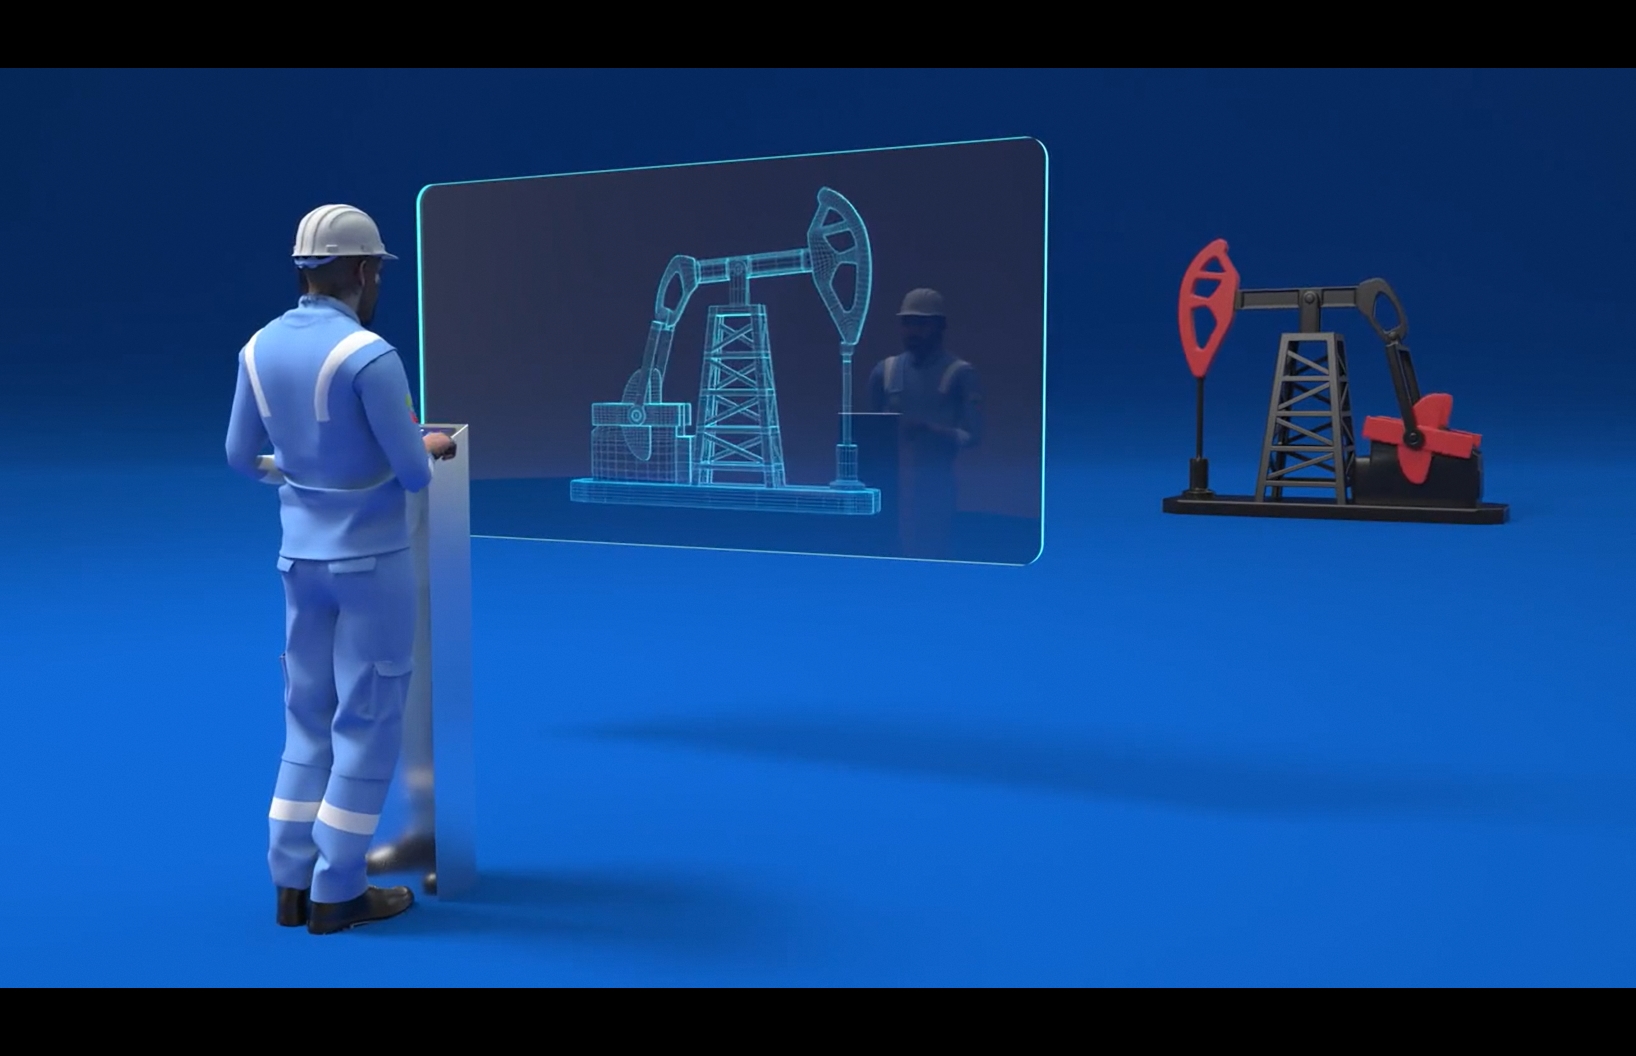
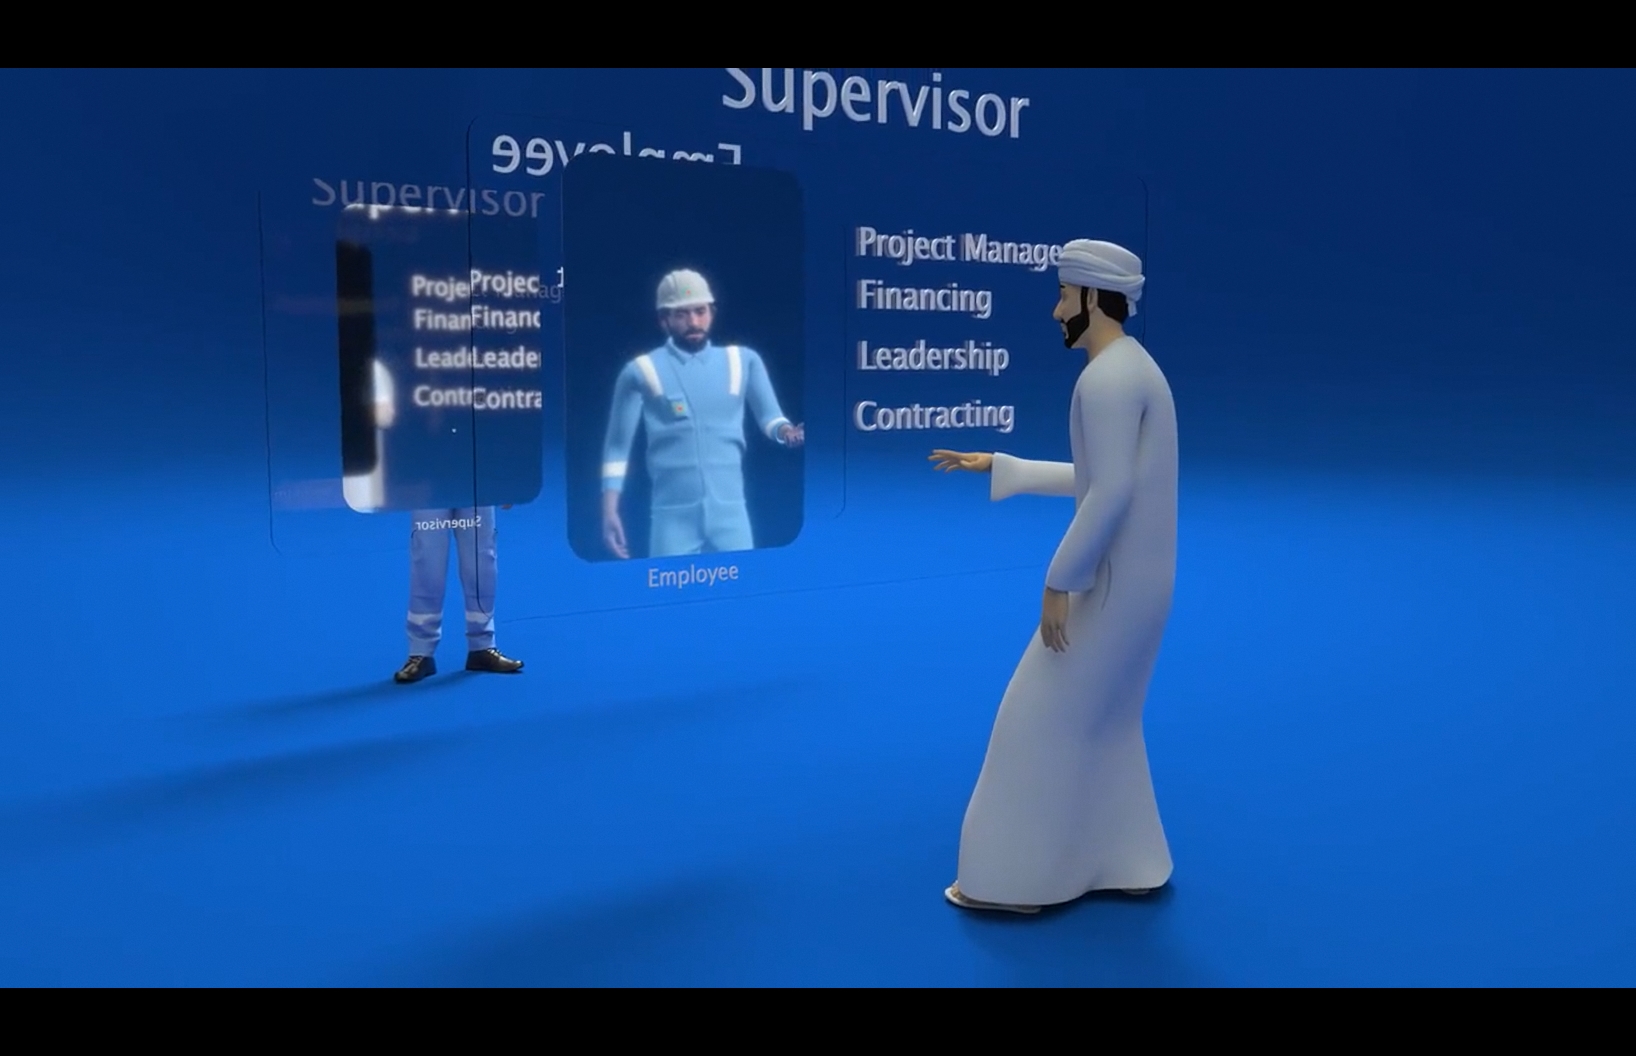
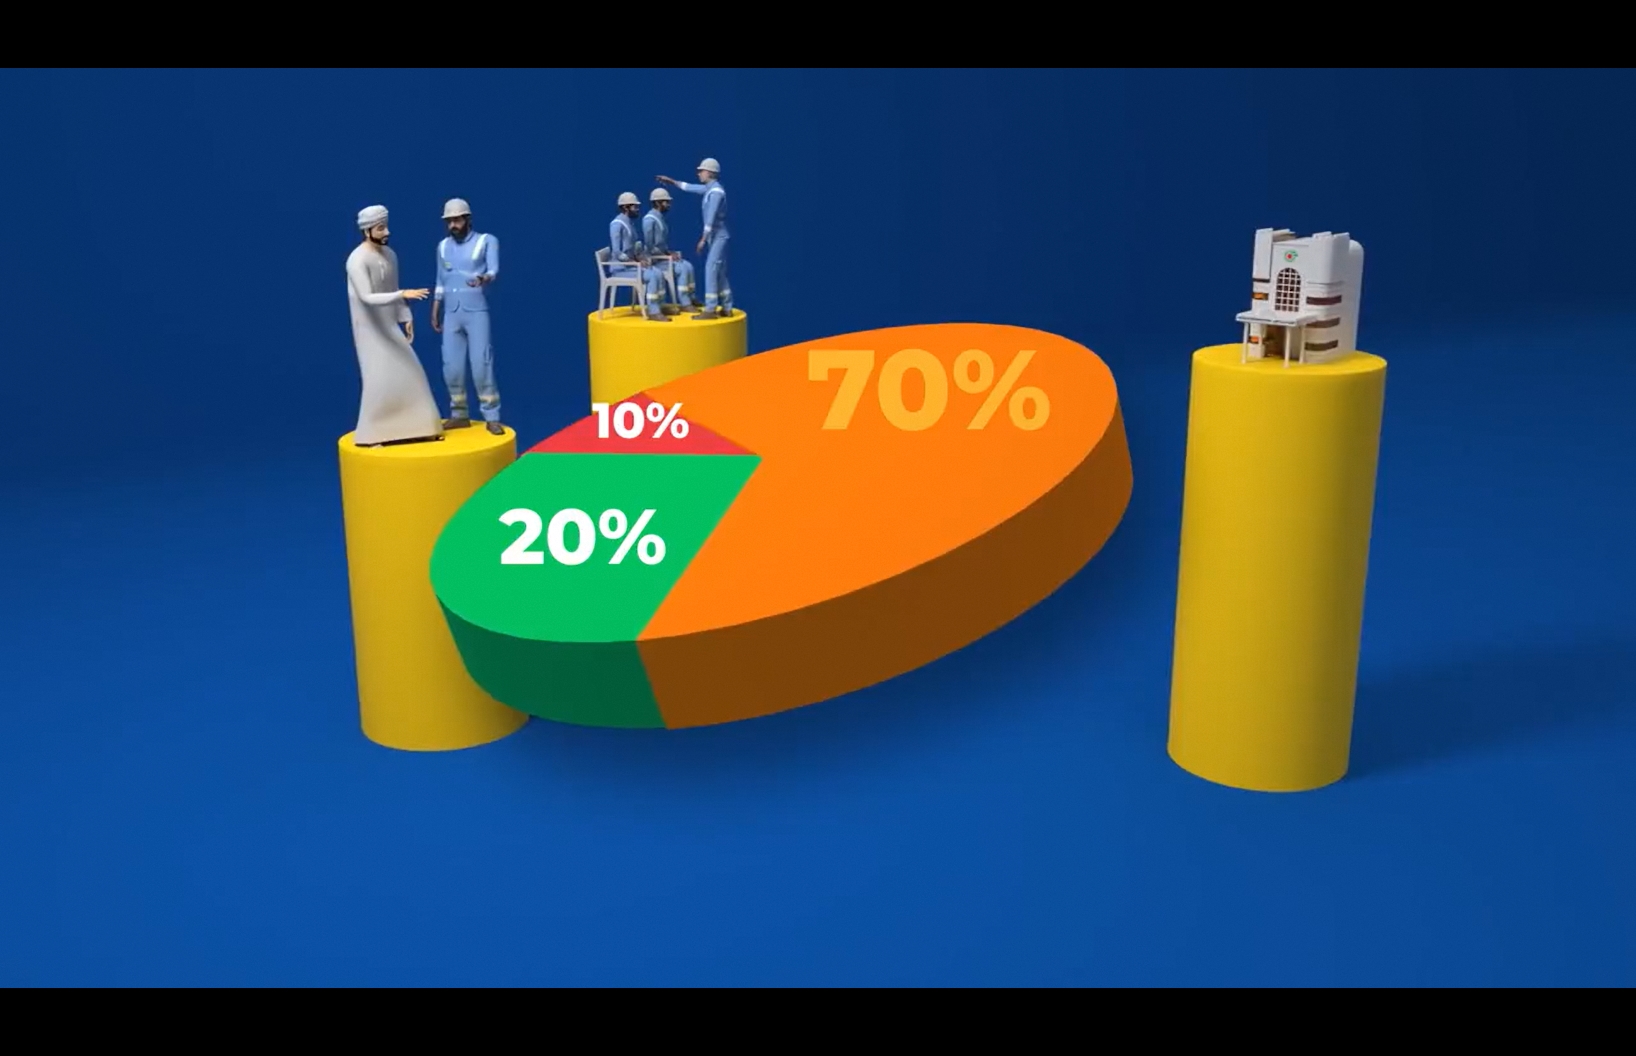
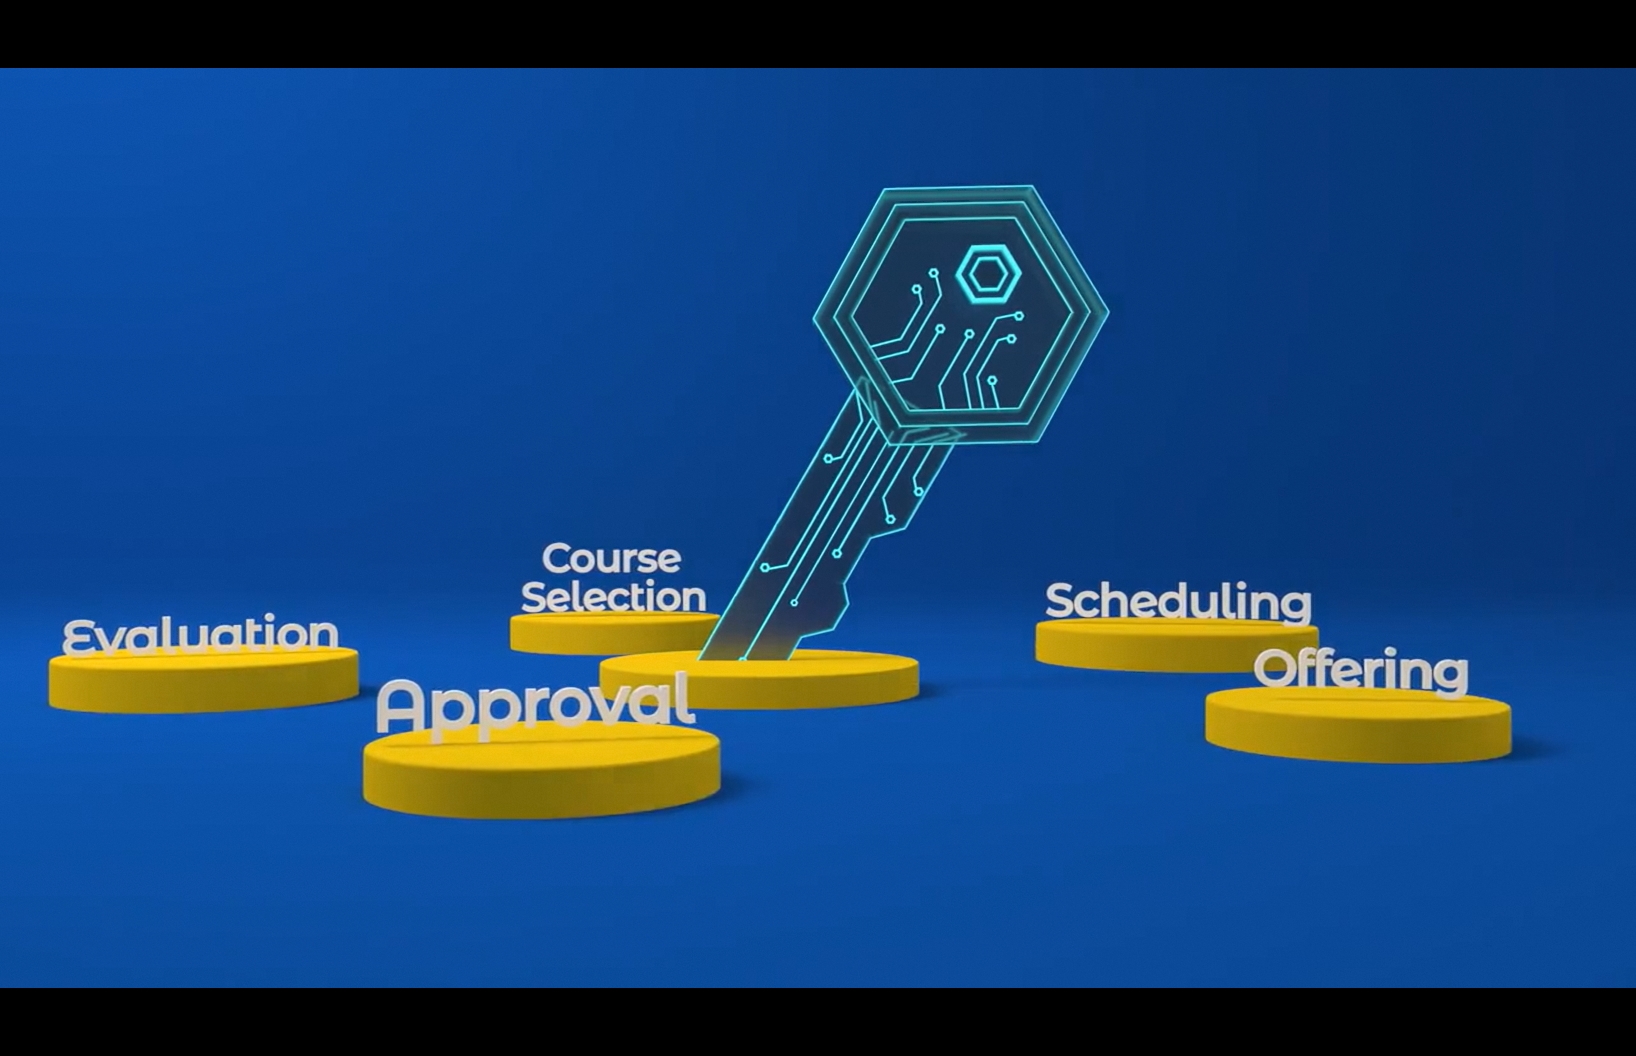
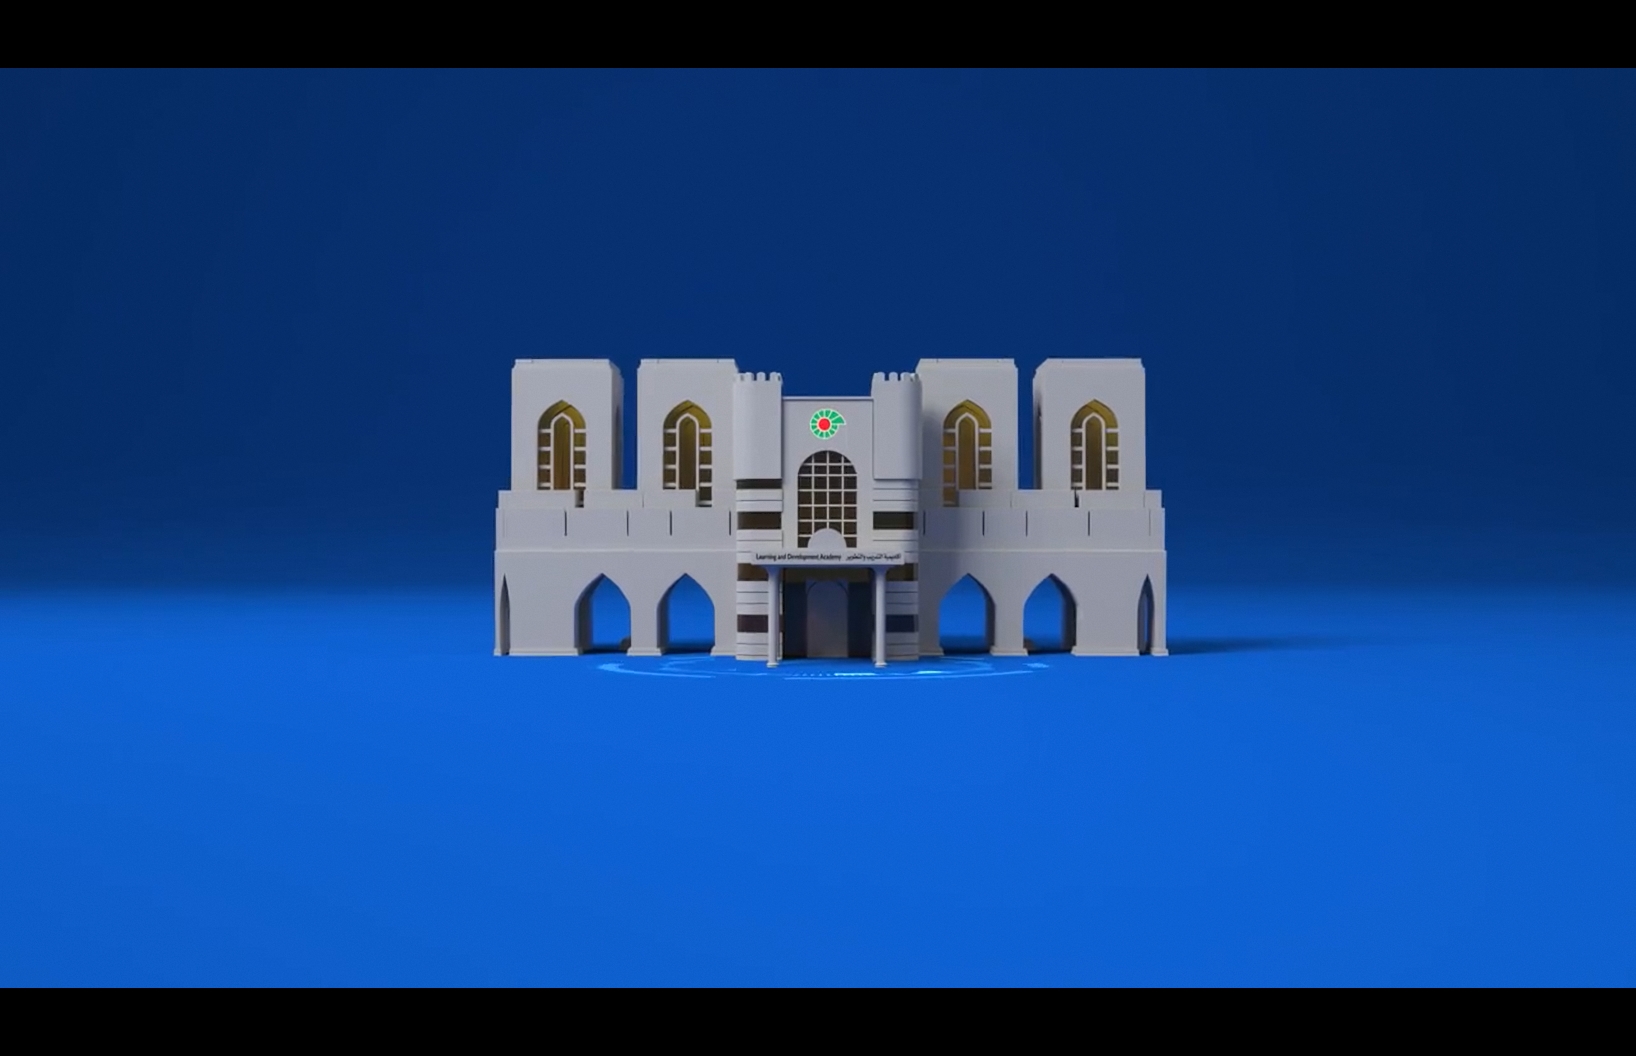
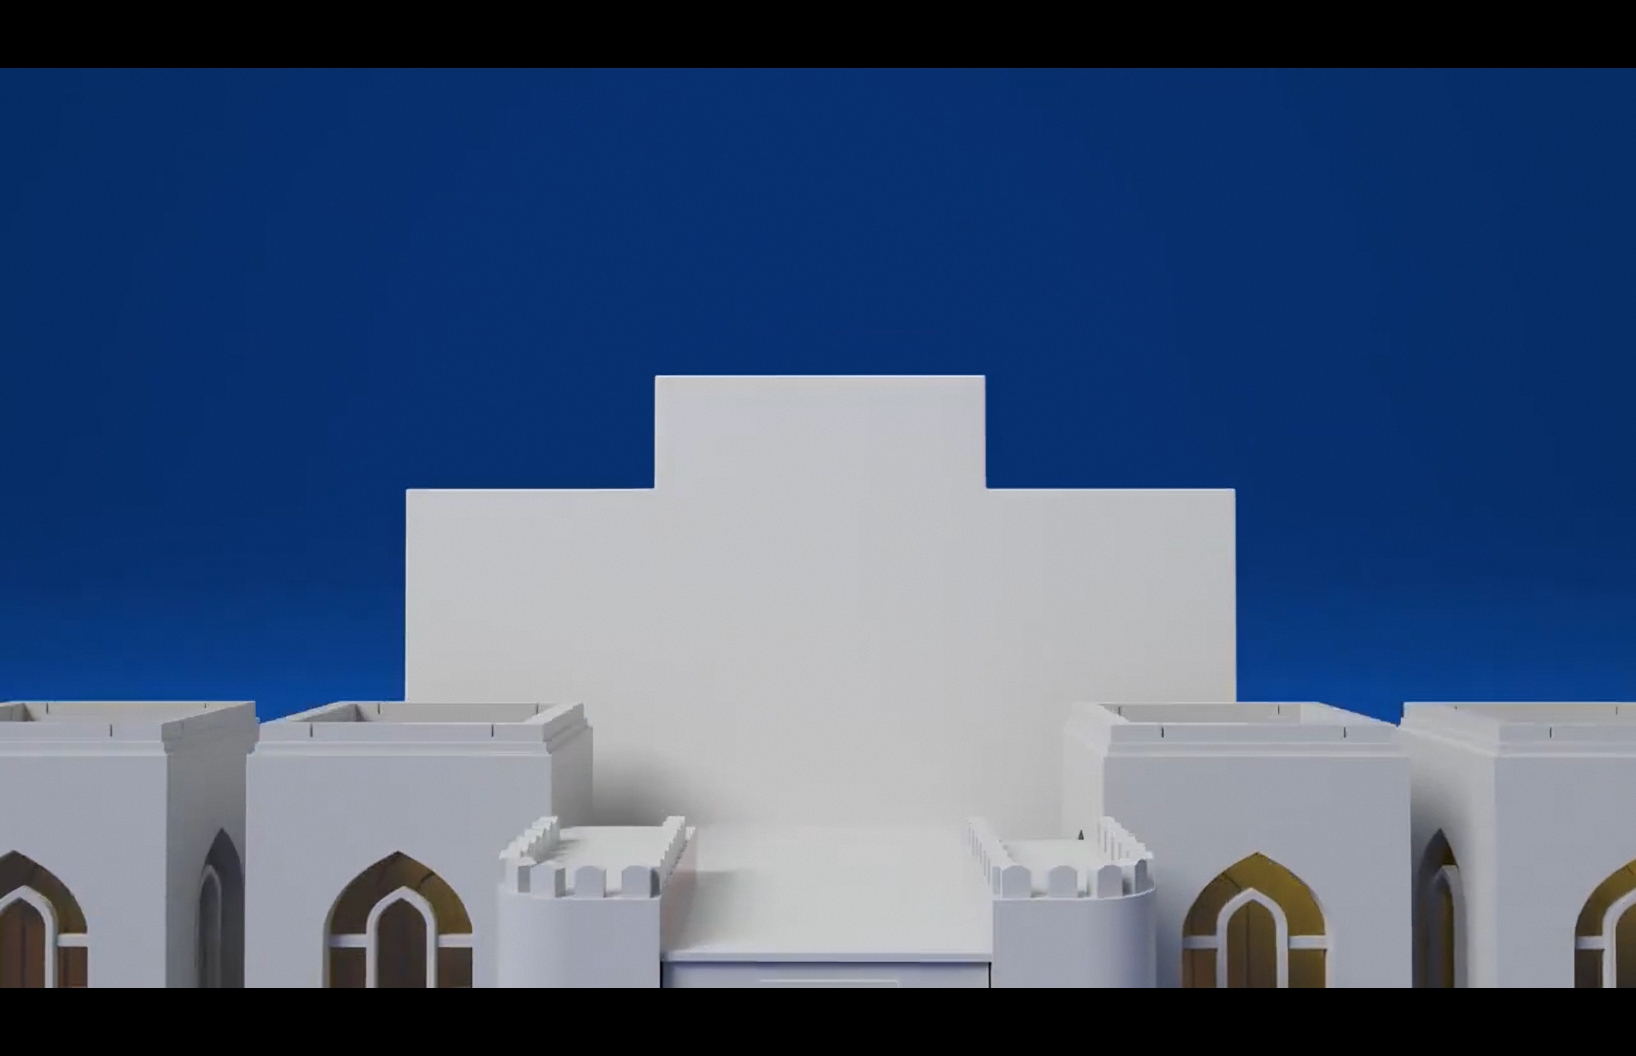
The PDO Oman project was produced at Framezen, a production studio where I was the lead 3D artist. Petroleum Development Oman, one of the largest oil and gas producers in the region, required a 3D explainer visualising their infrastructure and operations for a corporate communications context.

Industrial and architectural CGI for the energy sector operates under different constraints from product visualisation. Accuracy is paramount: clients in this sector know their facilities exactly and will notice every error. Scale must be communicated clearly. And the atmosphere of the environment, in this case the Omani landscape, must feel authentic rather than generic.

Industrial CGI vs Product Visualisation
FactorProduct VisualisationIndustrial CGI
Accuracy priorityBrand guidelines, material finishEngineering accuracy, site fidelity
Scale communicationHuman hand referenceLandscape, vehicle, figure scale
Lighting approachControlled studio environmentReal-world exterior conditions
AtmosphereClean, no particulateDust, haze, heat shimmer
Reference sourceManufacturer photographySite photography, engineering drawings
Client feedback focusVisual appeal, brand accuracyTechnical accuracy, process correctness
Atmosphere and Environment

The Omani desert environment is defined by specific atmospheric conditions that must be represented accurately. High ambient light from intense direct sun. A warm dust haze that progressively desaturates and lightens distant objects. Heat shimmer at ground level in full sun conditions. These are not aesthetic choices. They are the visual signature of the location and the client expects to see them.
Dust atmosphere
Redshift Volume node with Scatter Coefficient 0.04. Colour matched to warm desert haze. Density increases toward the horizon to create authentic aerial perspective.
Sun lighting
rsPhysicalLight at 6,500K, high intensity, steep angle for midday conditions. Hard shadow edges. Fill from rsIBL HDRI matched to desert sky colour temperature.
Ground surface
Dry desert sand roughness 0.88 to 0.95. No visible reflections. Colour variation map to avoid flat uniform appearance. Rock outcrops at 0.82 to 0.88.
Infrastructure materials
Steel pipelines with weathering roughness variation 0.45 to 0.65. Weathered paint on structural elements 0.55 to 0.70. Dust accumulation adds 0.15 to 0.25 roughness to all horizontal surfaces.
Production Images
PDO Oman
Establishing shot
PDO Oman
Infrastructure overview
PDO Oman
Detail 01
PDO Oman
Detail 02
PDO Oman
Detail 03
PDO Oman
Aerial view
PDO Oman
Ground level
PDO
Scene 08
PDO
Scene 09
PDO
Scene 10
PDO
11
PDO
12
PDO
13
PDO
14
PDO
Scene 15
PDO
Scene 16
PDO
17
PDO
18
PDO
19
PDO
20
PDO
21
PDO
22
PDO
23
PDO
Scene 24
PDO
Final scene
Final Explainer Video
PDO Oman / 3D Explainer / Studio: Framezen
What Industrial CGI Teaches You

Product visualisation teaches you precision at small scale. Industrial CGI teaches you to communicate scale, depth, and atmosphere at a completely different magnitude. Both disciplines improve each other. The material accuracy from product work makes industrial assets more believable. The atmospheric depth from industrial work makes product environments more real.

Get More

CINEMATIC
WORKFLOW GUIDE

The complete 3D art production workflow. Reference to final Photoshop composite. 10 chapters, 12 render passes, Maya Redshift and UE5 covered in full.

Let's Work Together

GET IN TOUCH

Available for CGI commercials, product visualisation, environment art, and consulting. Based in Karachi, working globally.